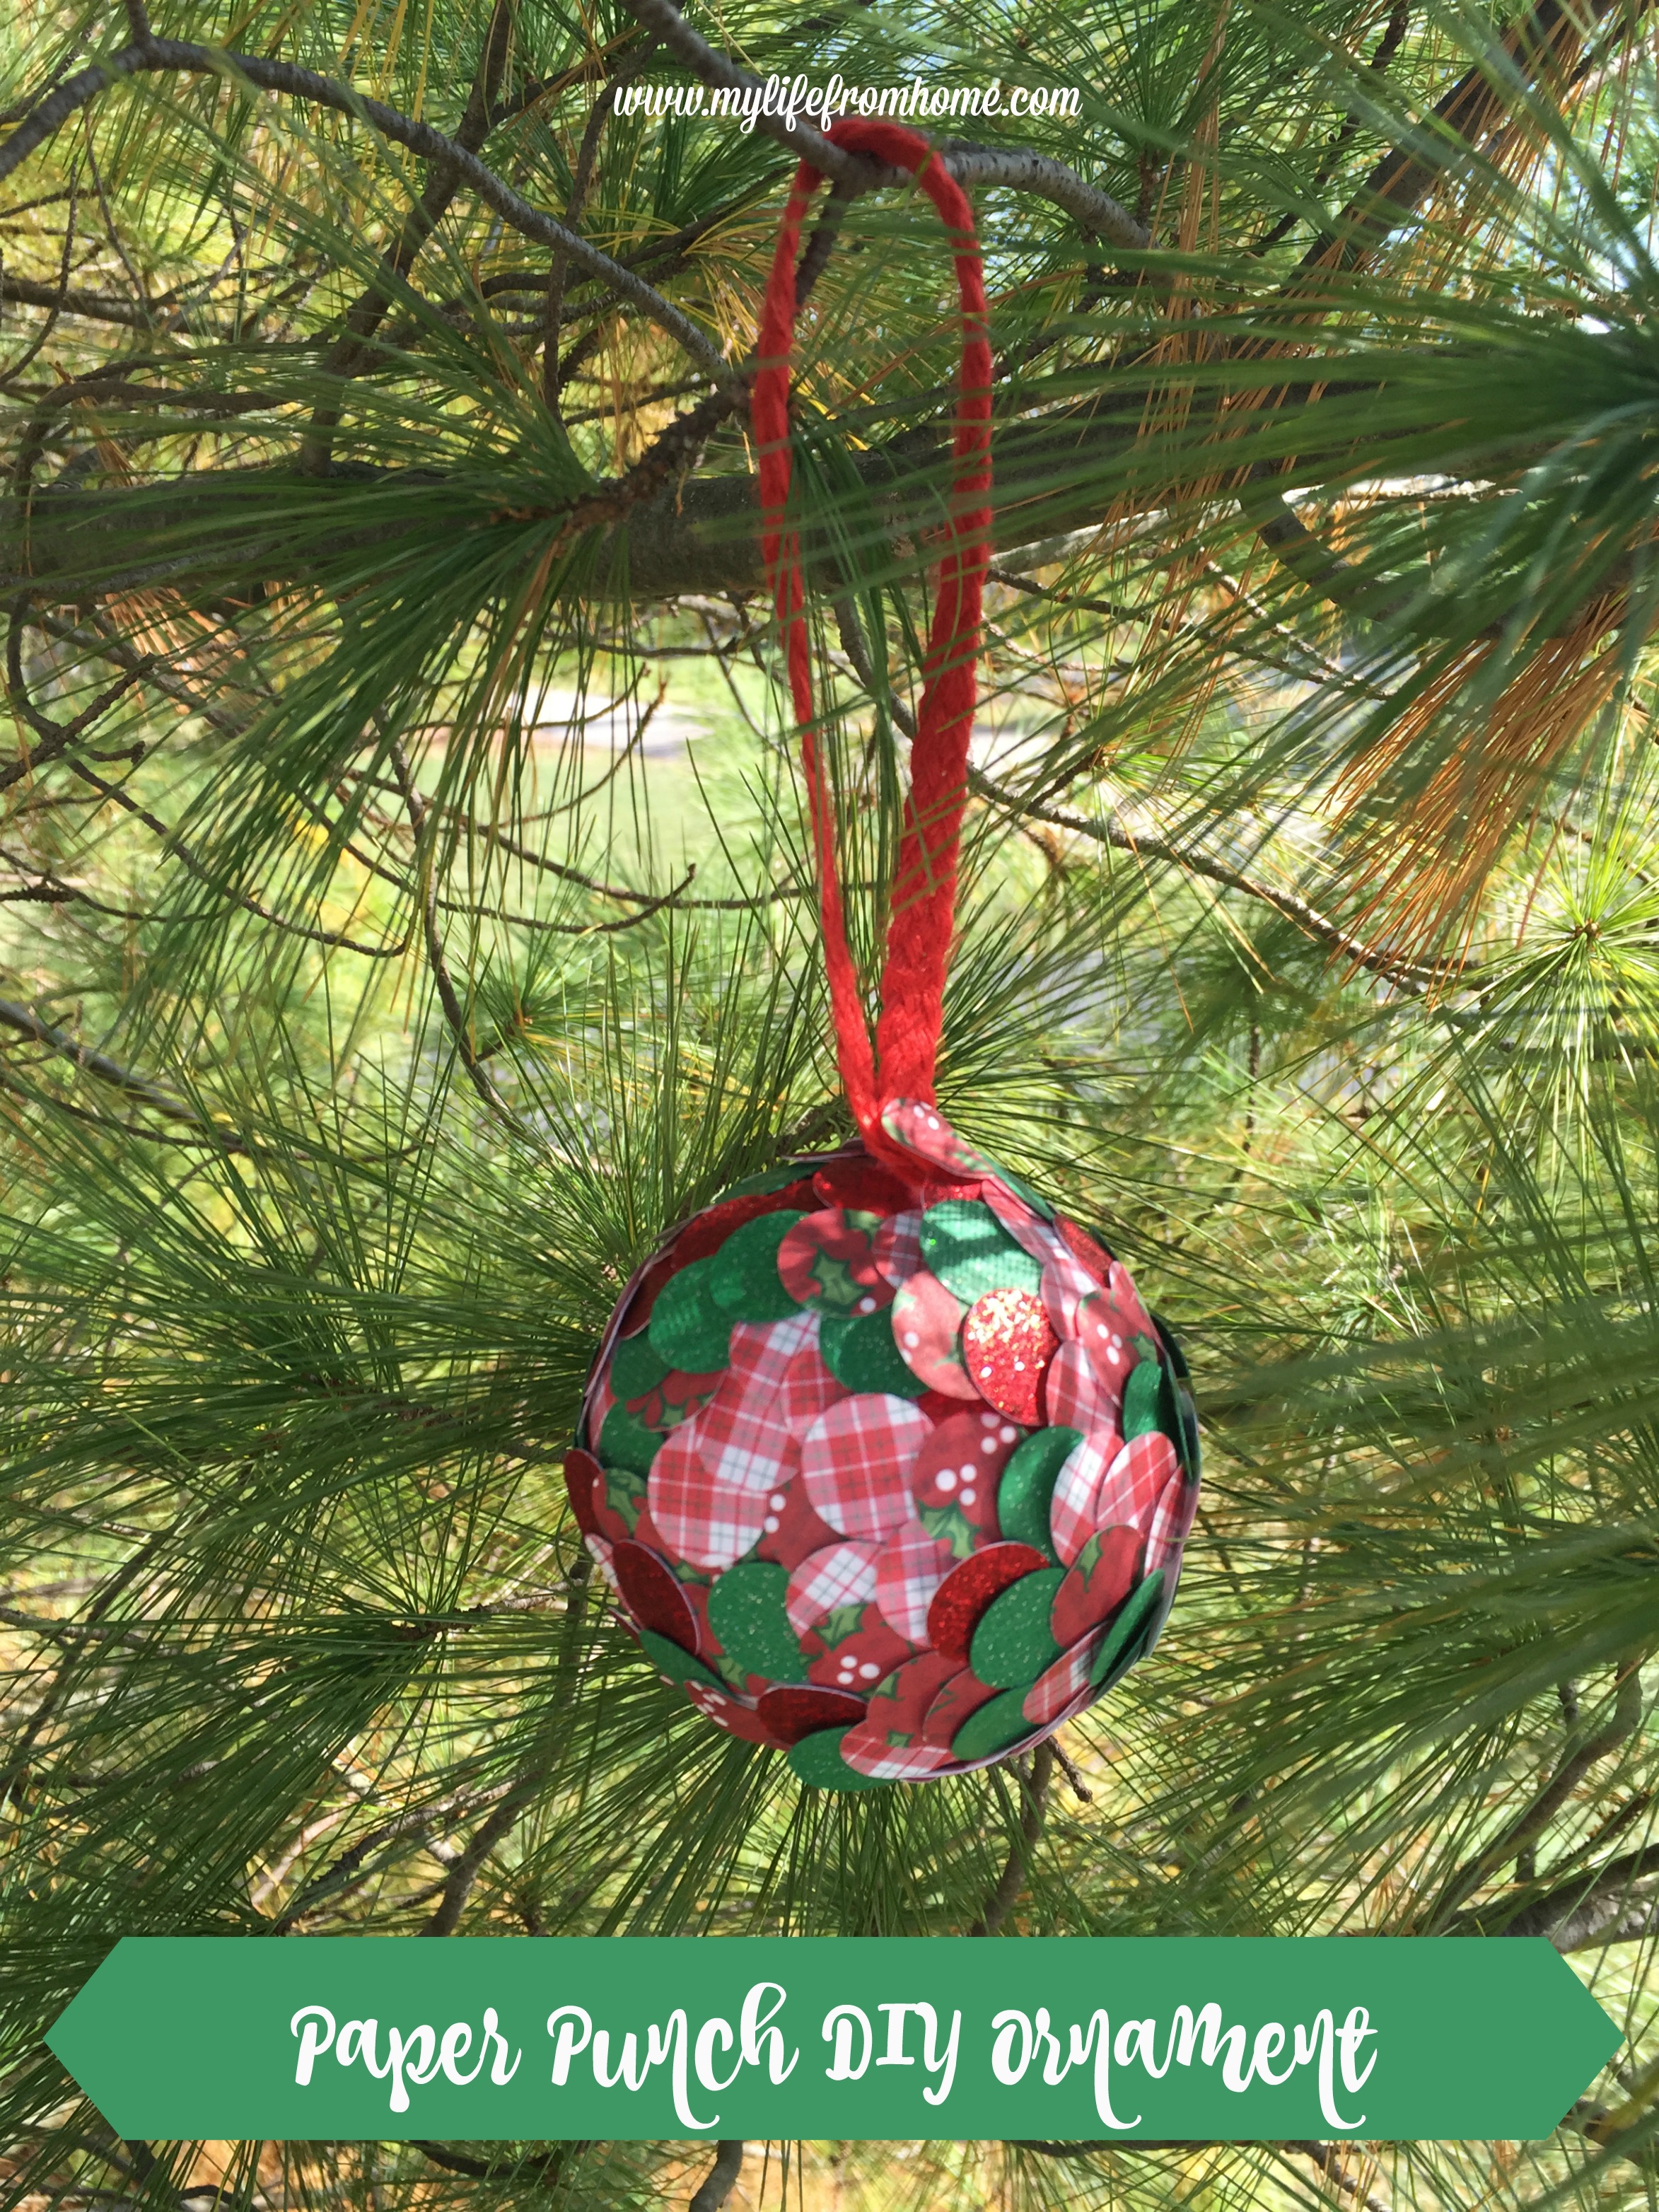
DIY: Simple Paper Punch Handmade Holiday Ornament

Create your own unique holiday ornament using a paper punch and decorative holiday scrapbook paper.
Hi, friends! Today I am sharing with you a handmade ornament I made for a blogger ornament exchange I am a part of!
Erlene at My Pinterventures partnered 80+ bloggers to exchange ornaments and to share our creations or special finds with you! Over the course of 14 days, a group of ladies will be sharing our ornament tutorials or shopping trips to give you lots of holiday inspiration.
My ornament is super simple and can be tweaked to fit any Christmas style. Even your children could get in on the design and process of this craft.
Here are the instructions on how to make a layered paper punch ornament.
How to Make a Holiday Ornament Using a Paper Punch and Scrapbook Paper.
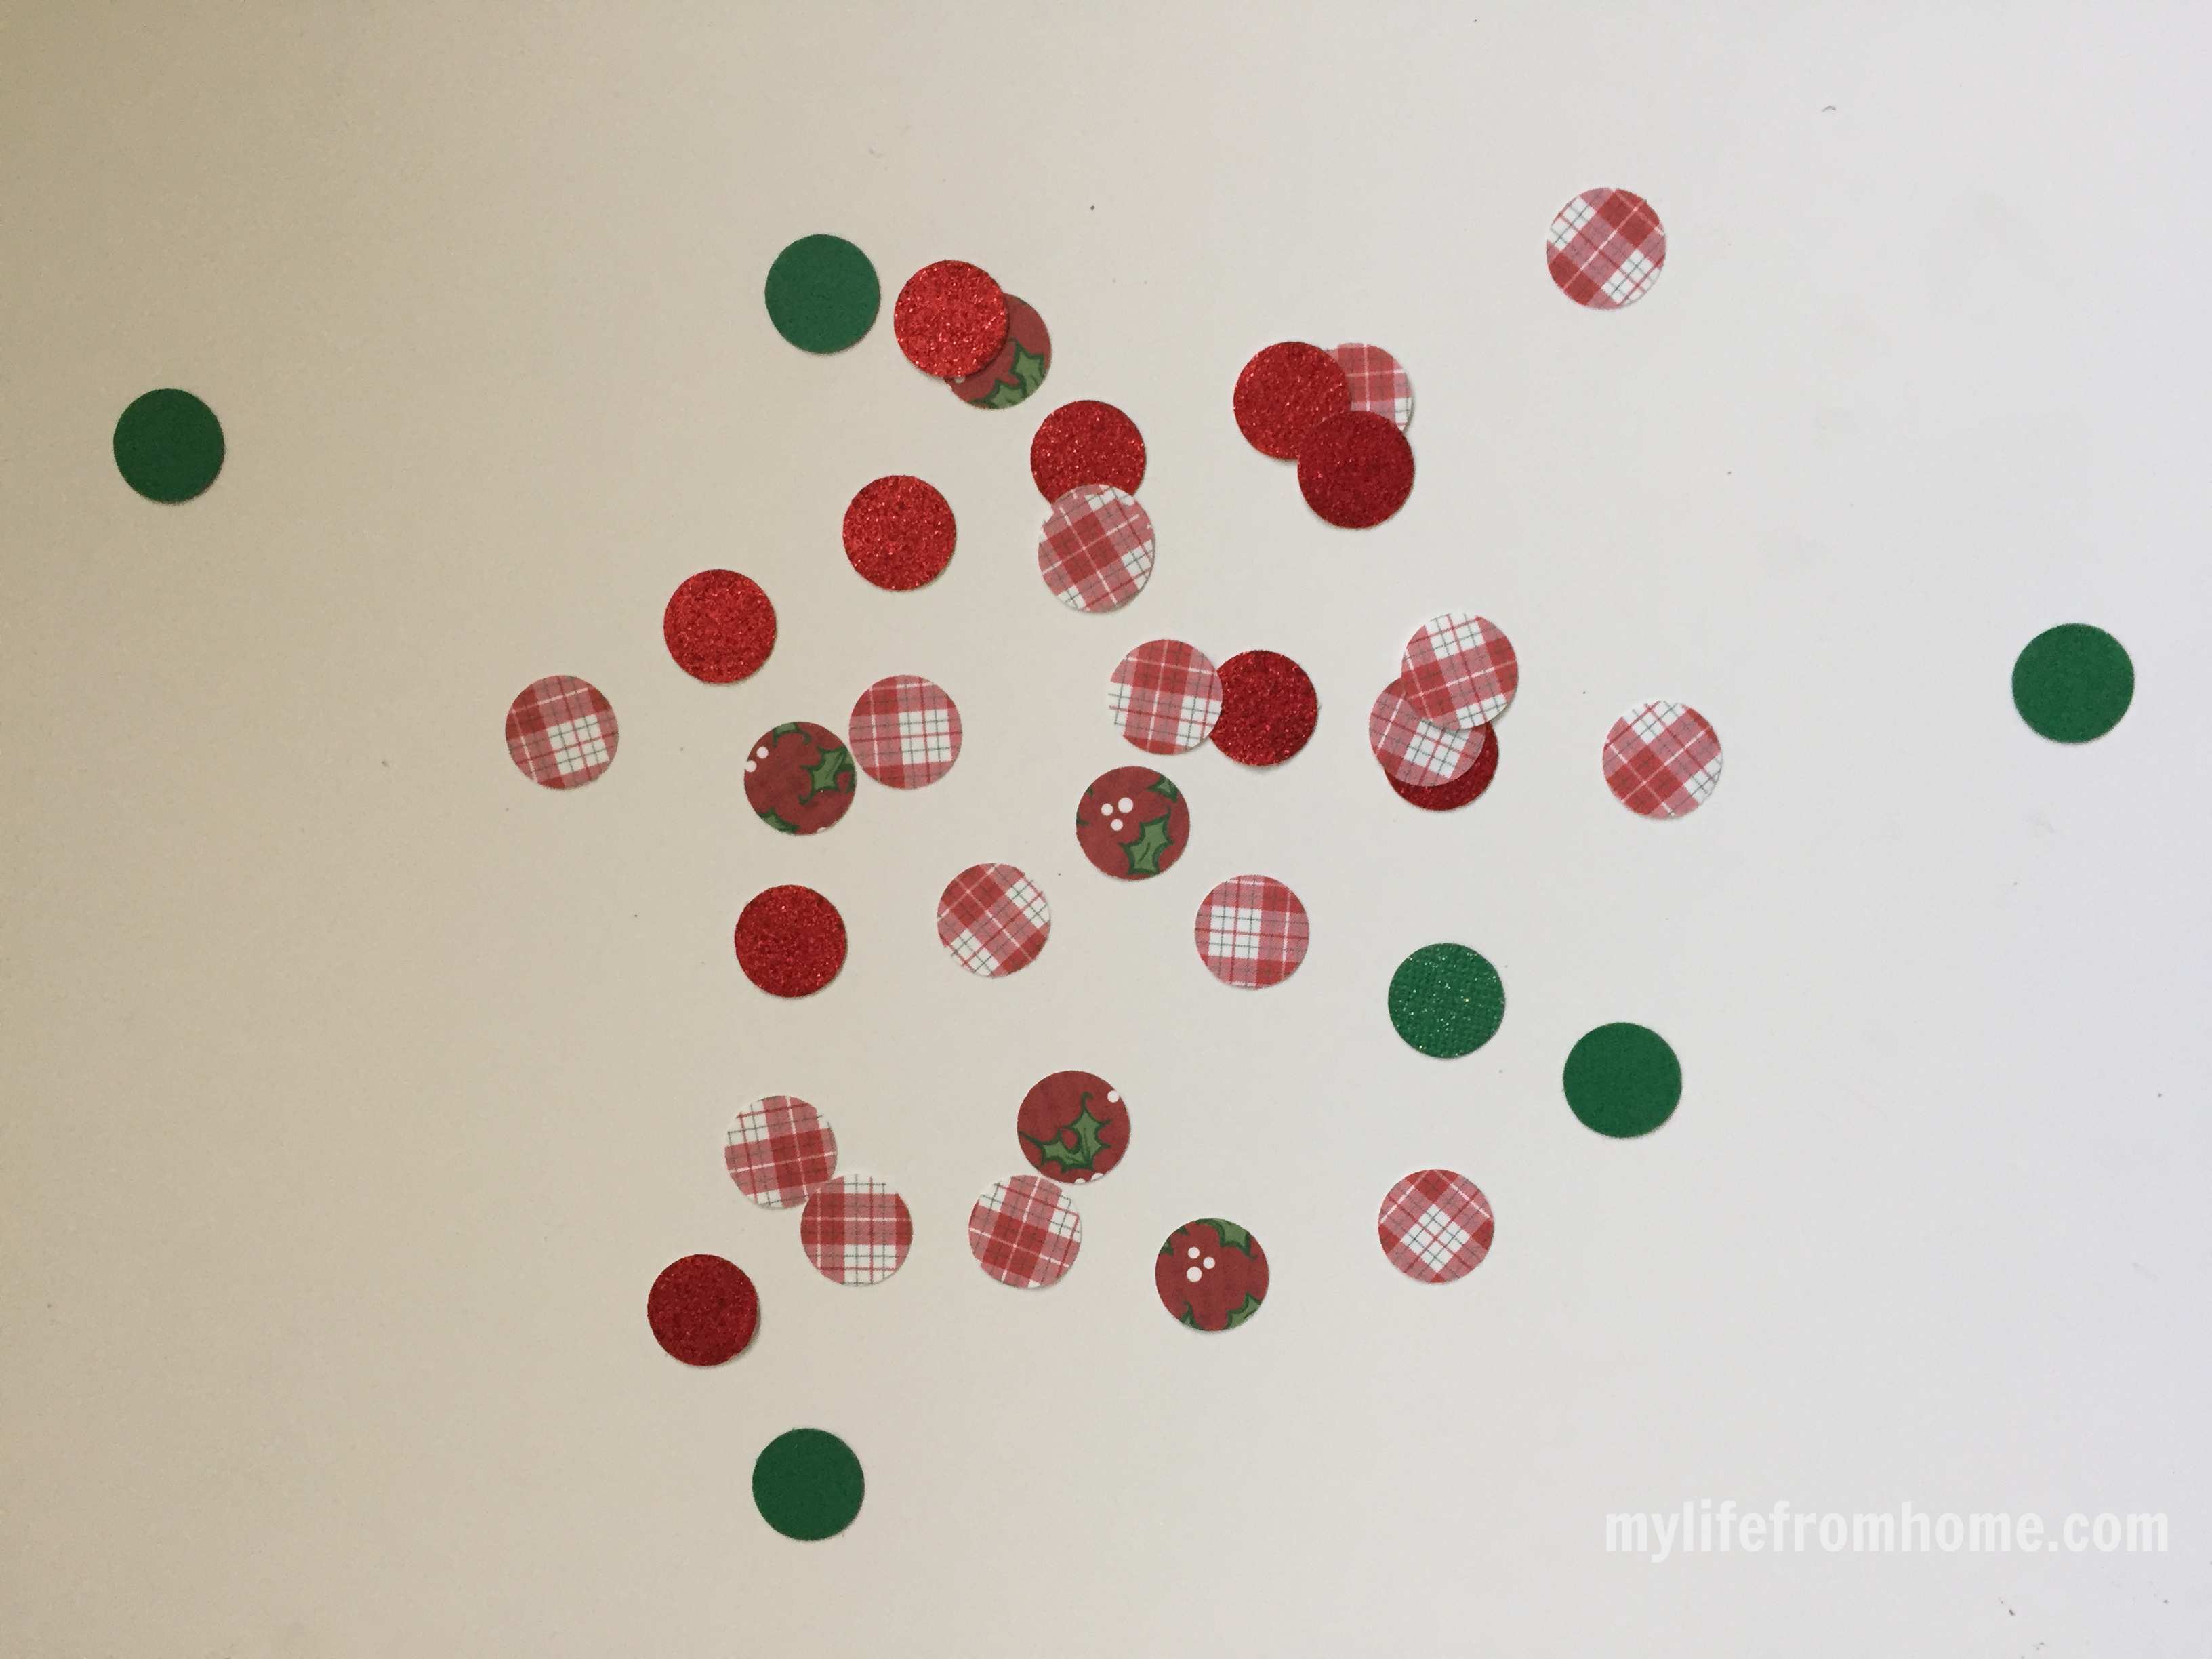
Supplies I needed for this project were: various scrapbook papers in Christmas patterns/ colors, Styrofoam ball, Styrofoam glue, ribbon and a paper punch (small round circle).
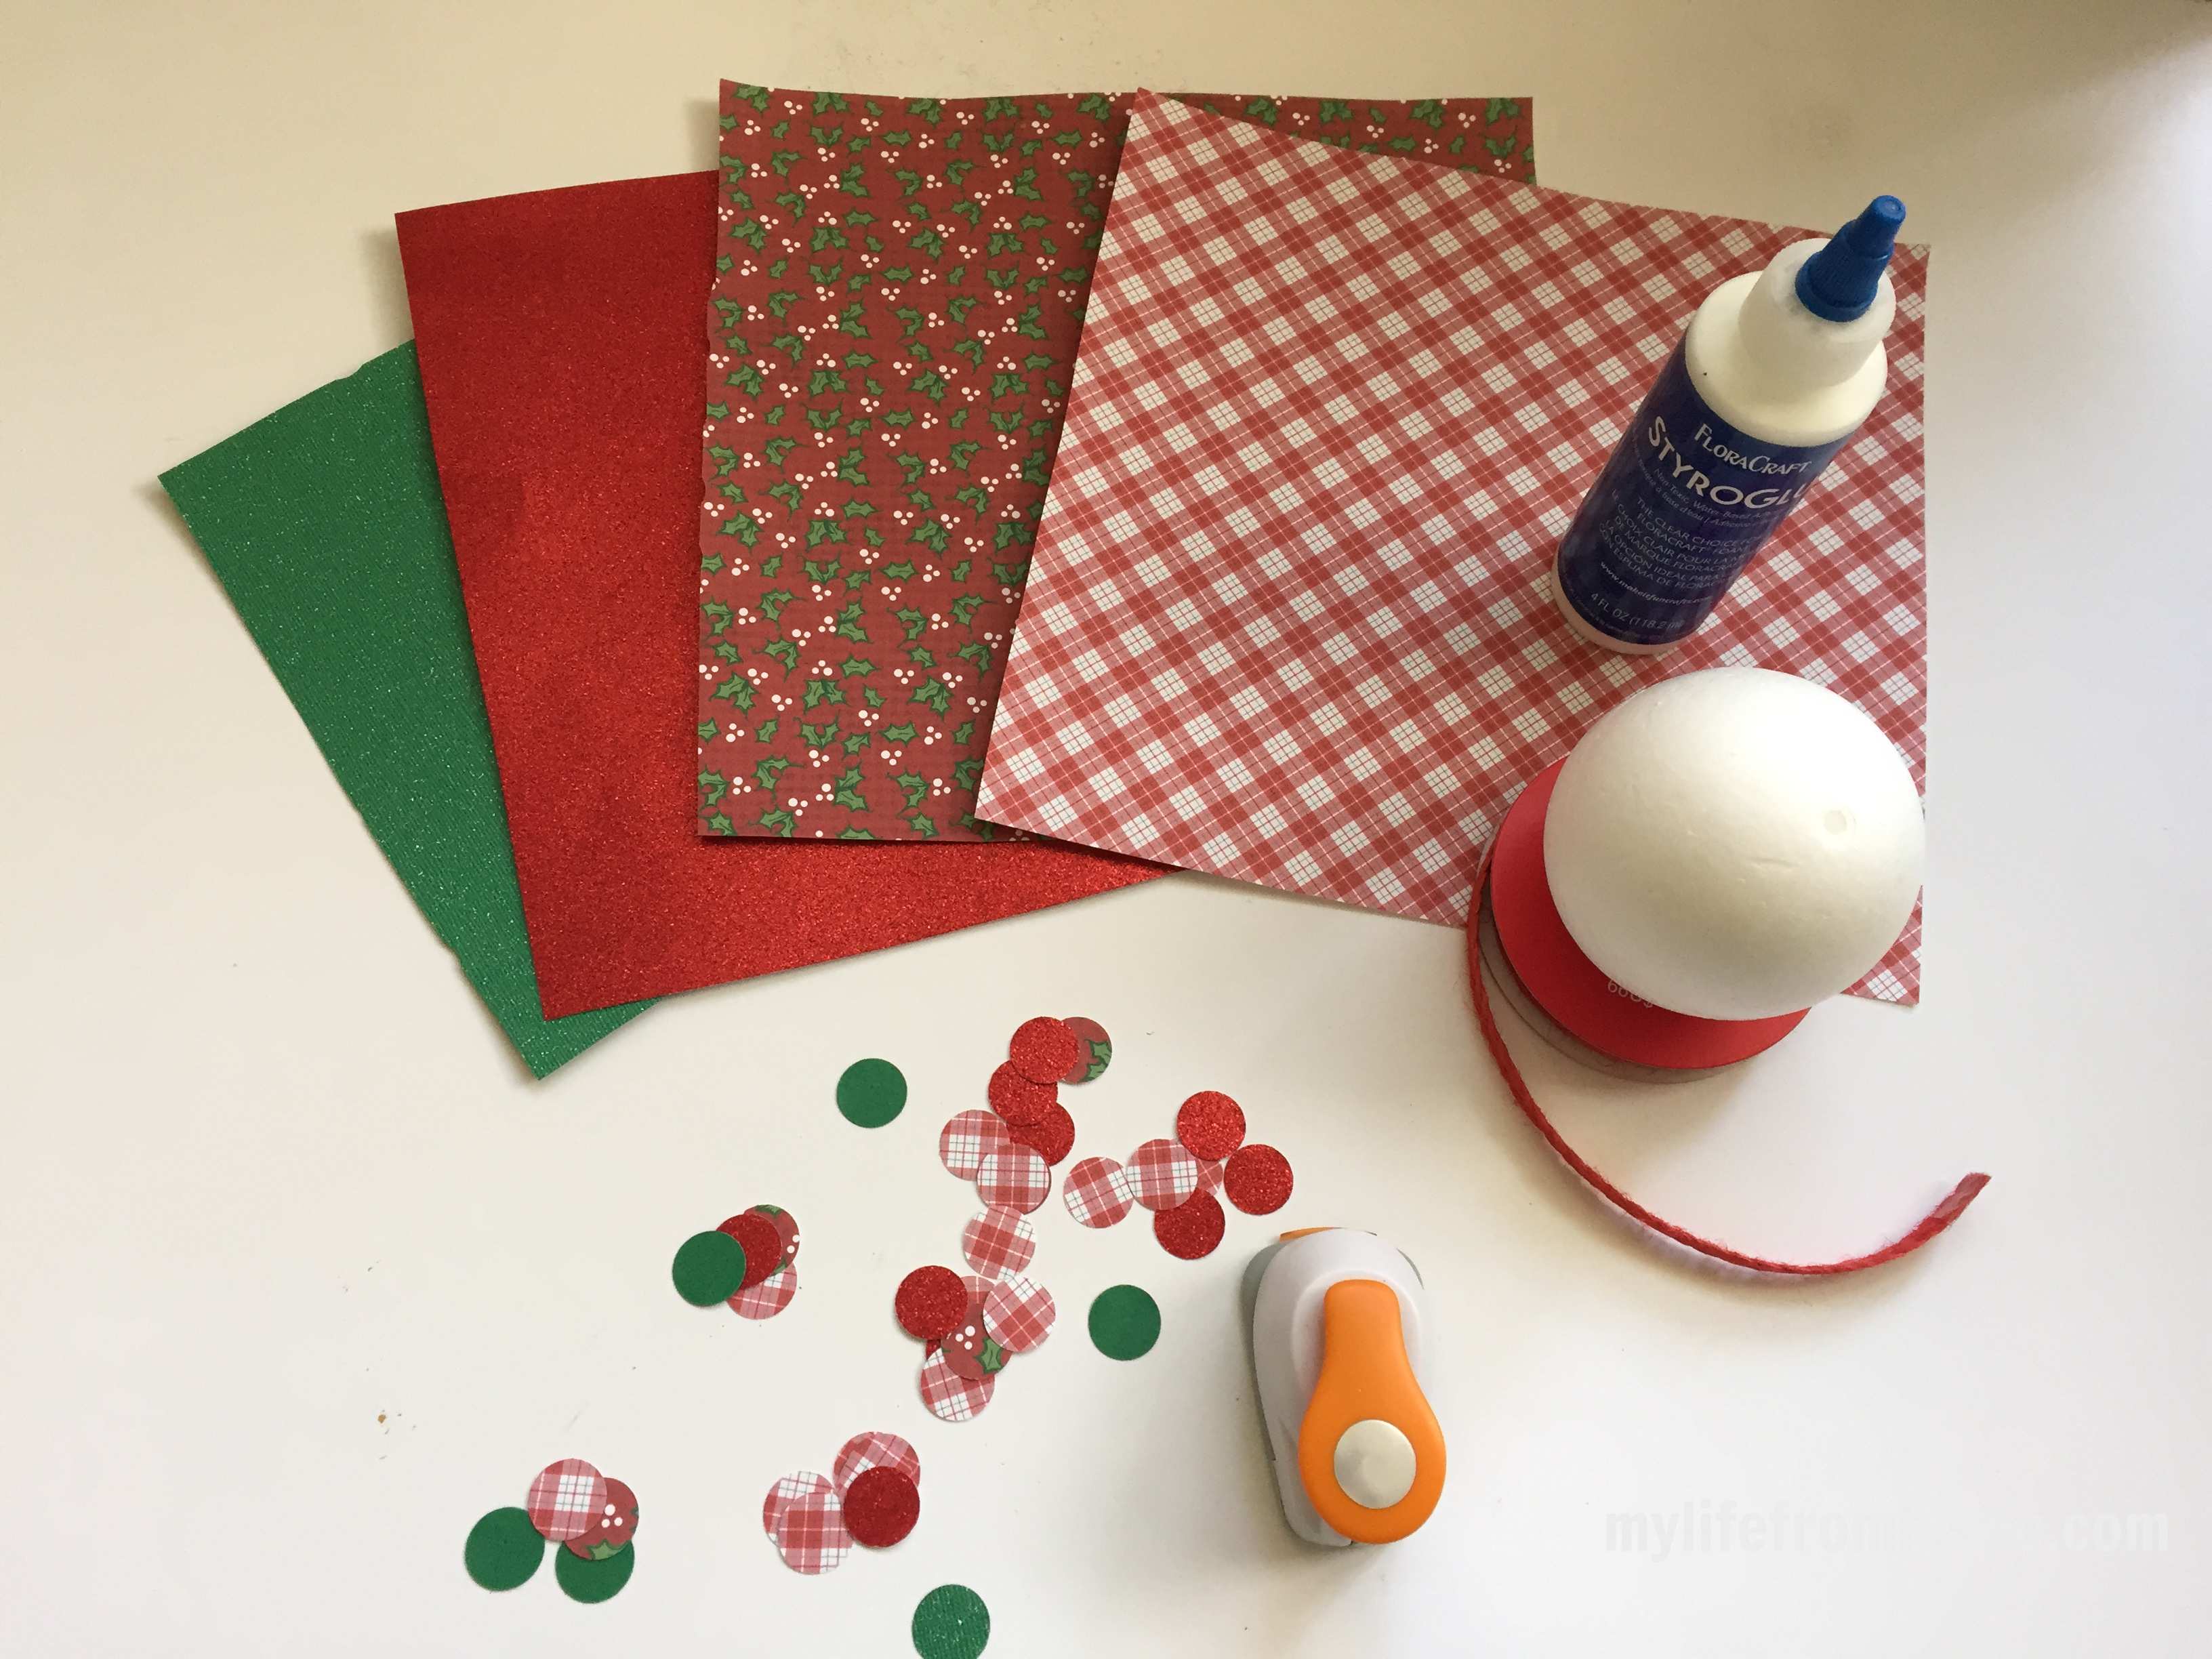
Begin by punching out various circles in the different papers of your choice.
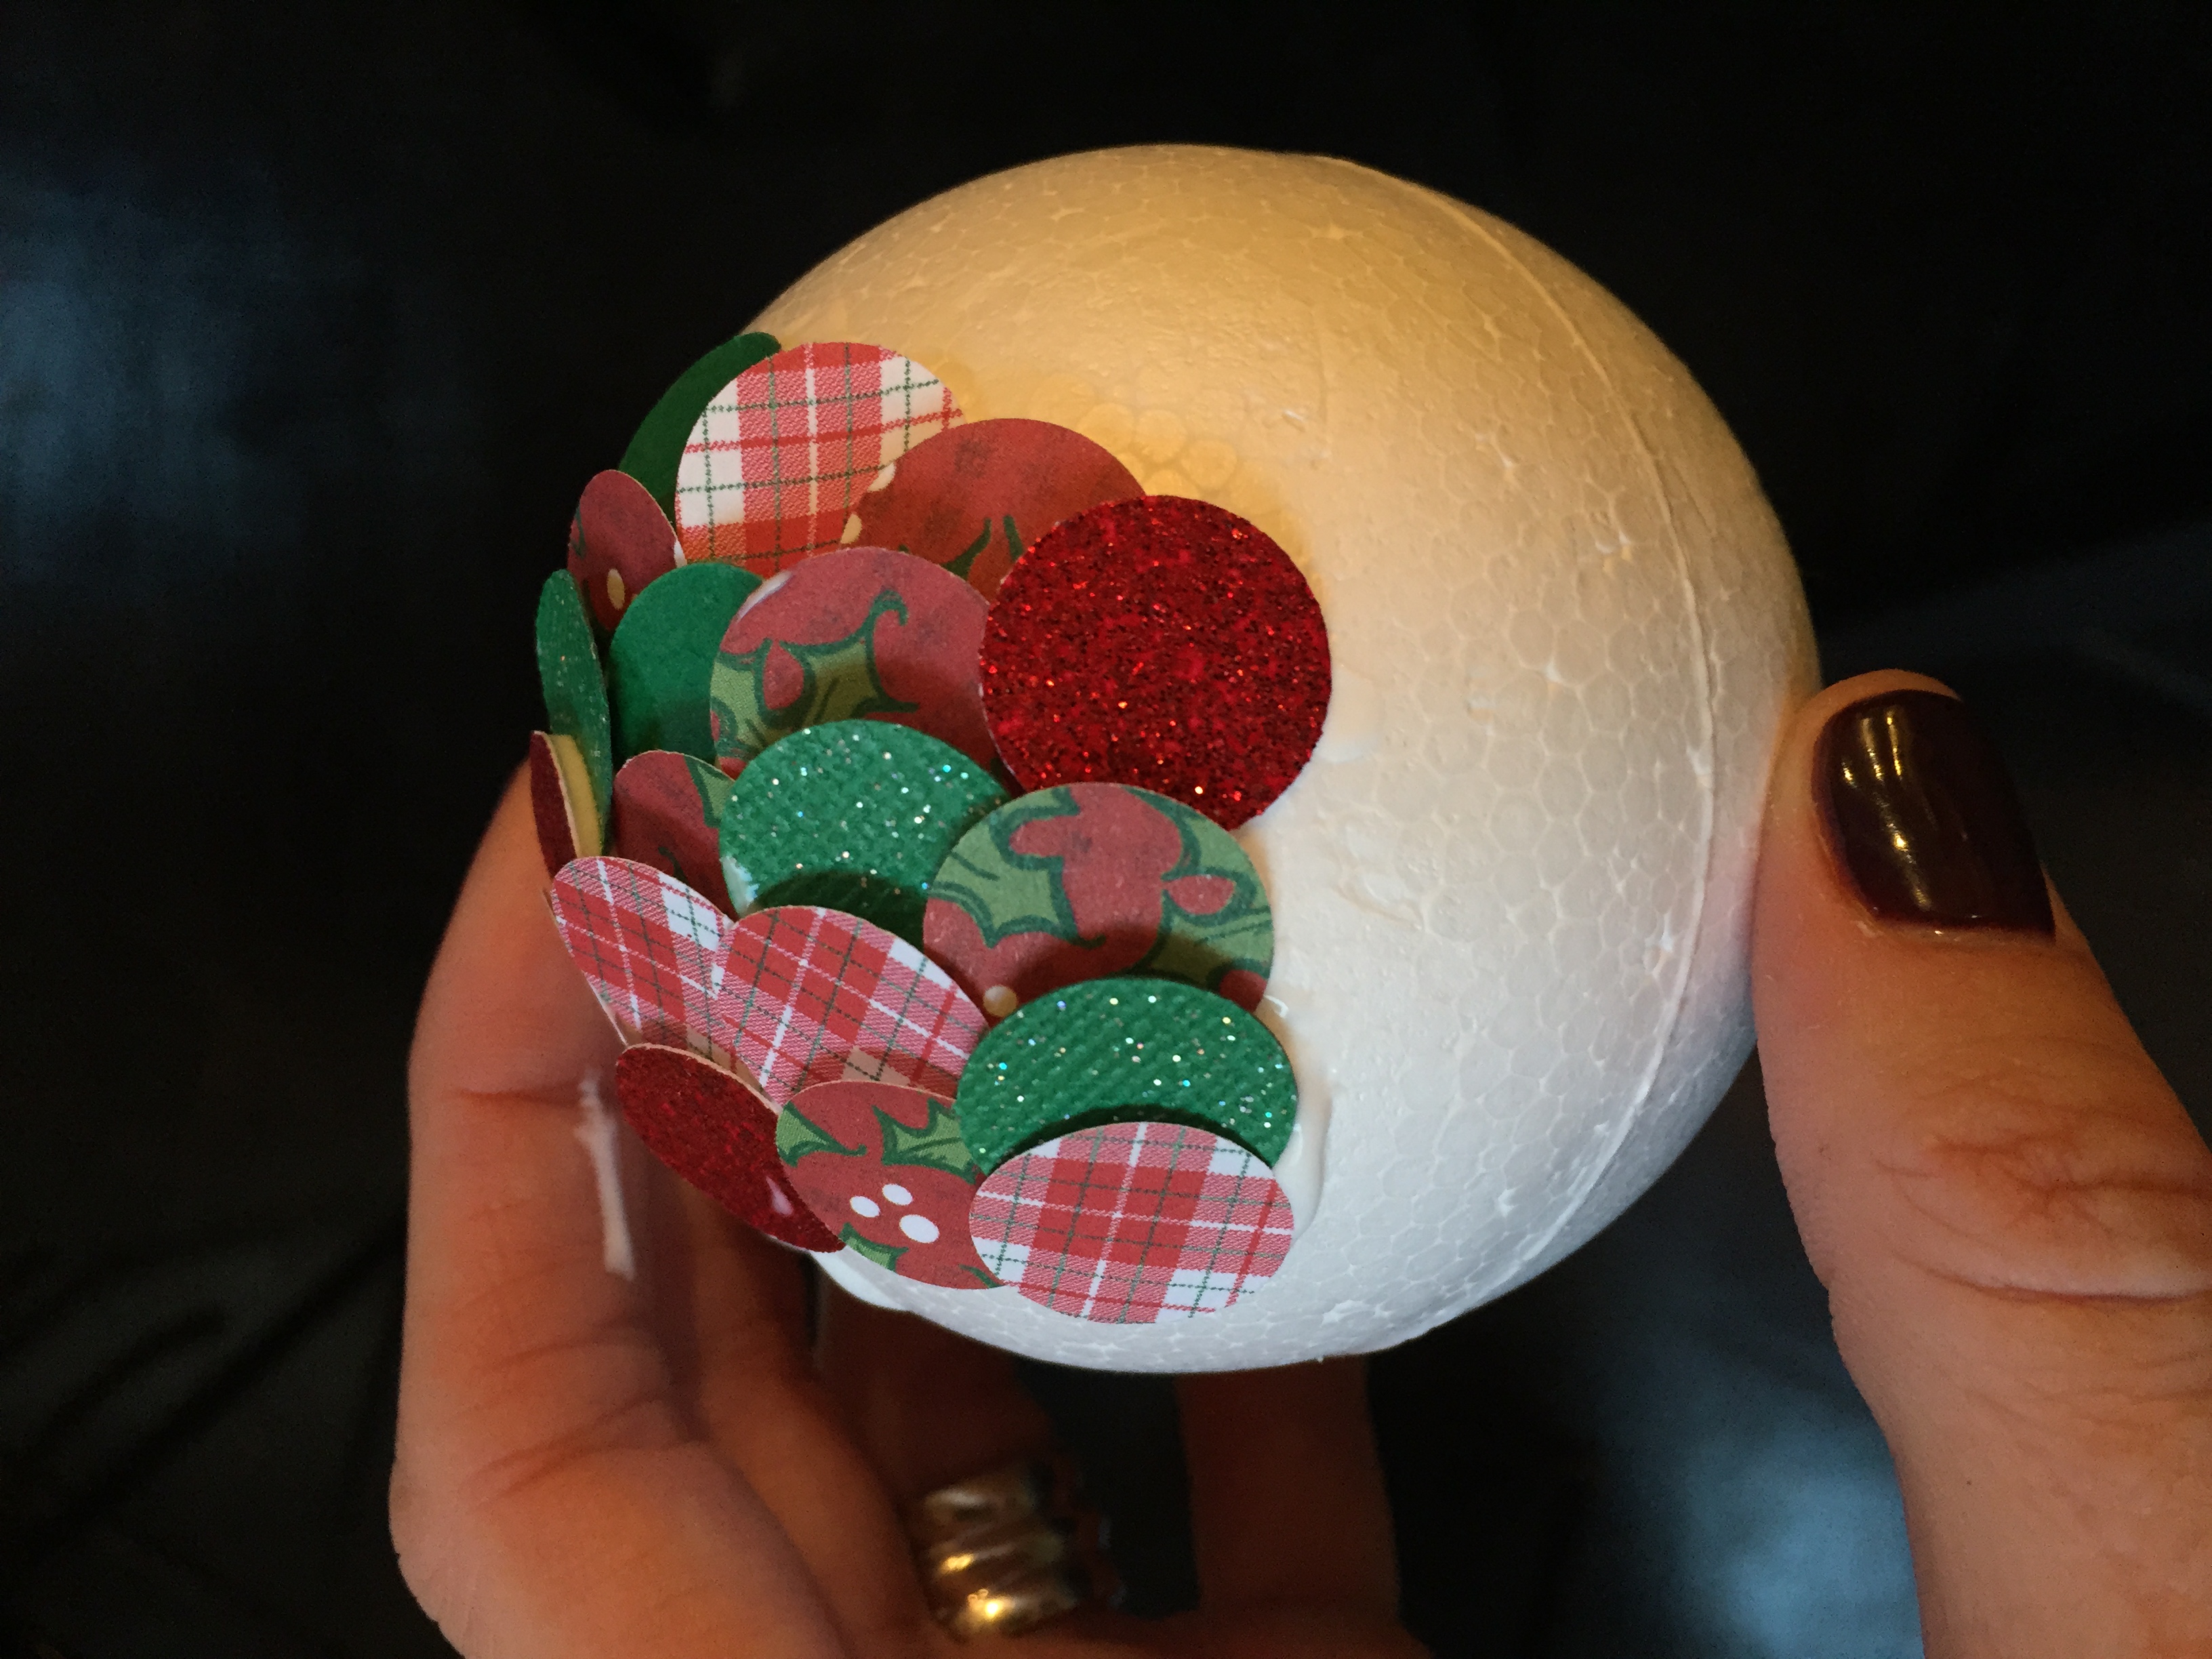
Using the Styrofoam glue, begin gluing on your paper circles overlapping each other. I did not worry about a specific pattern but glued them on randomly for a more eclectic look.
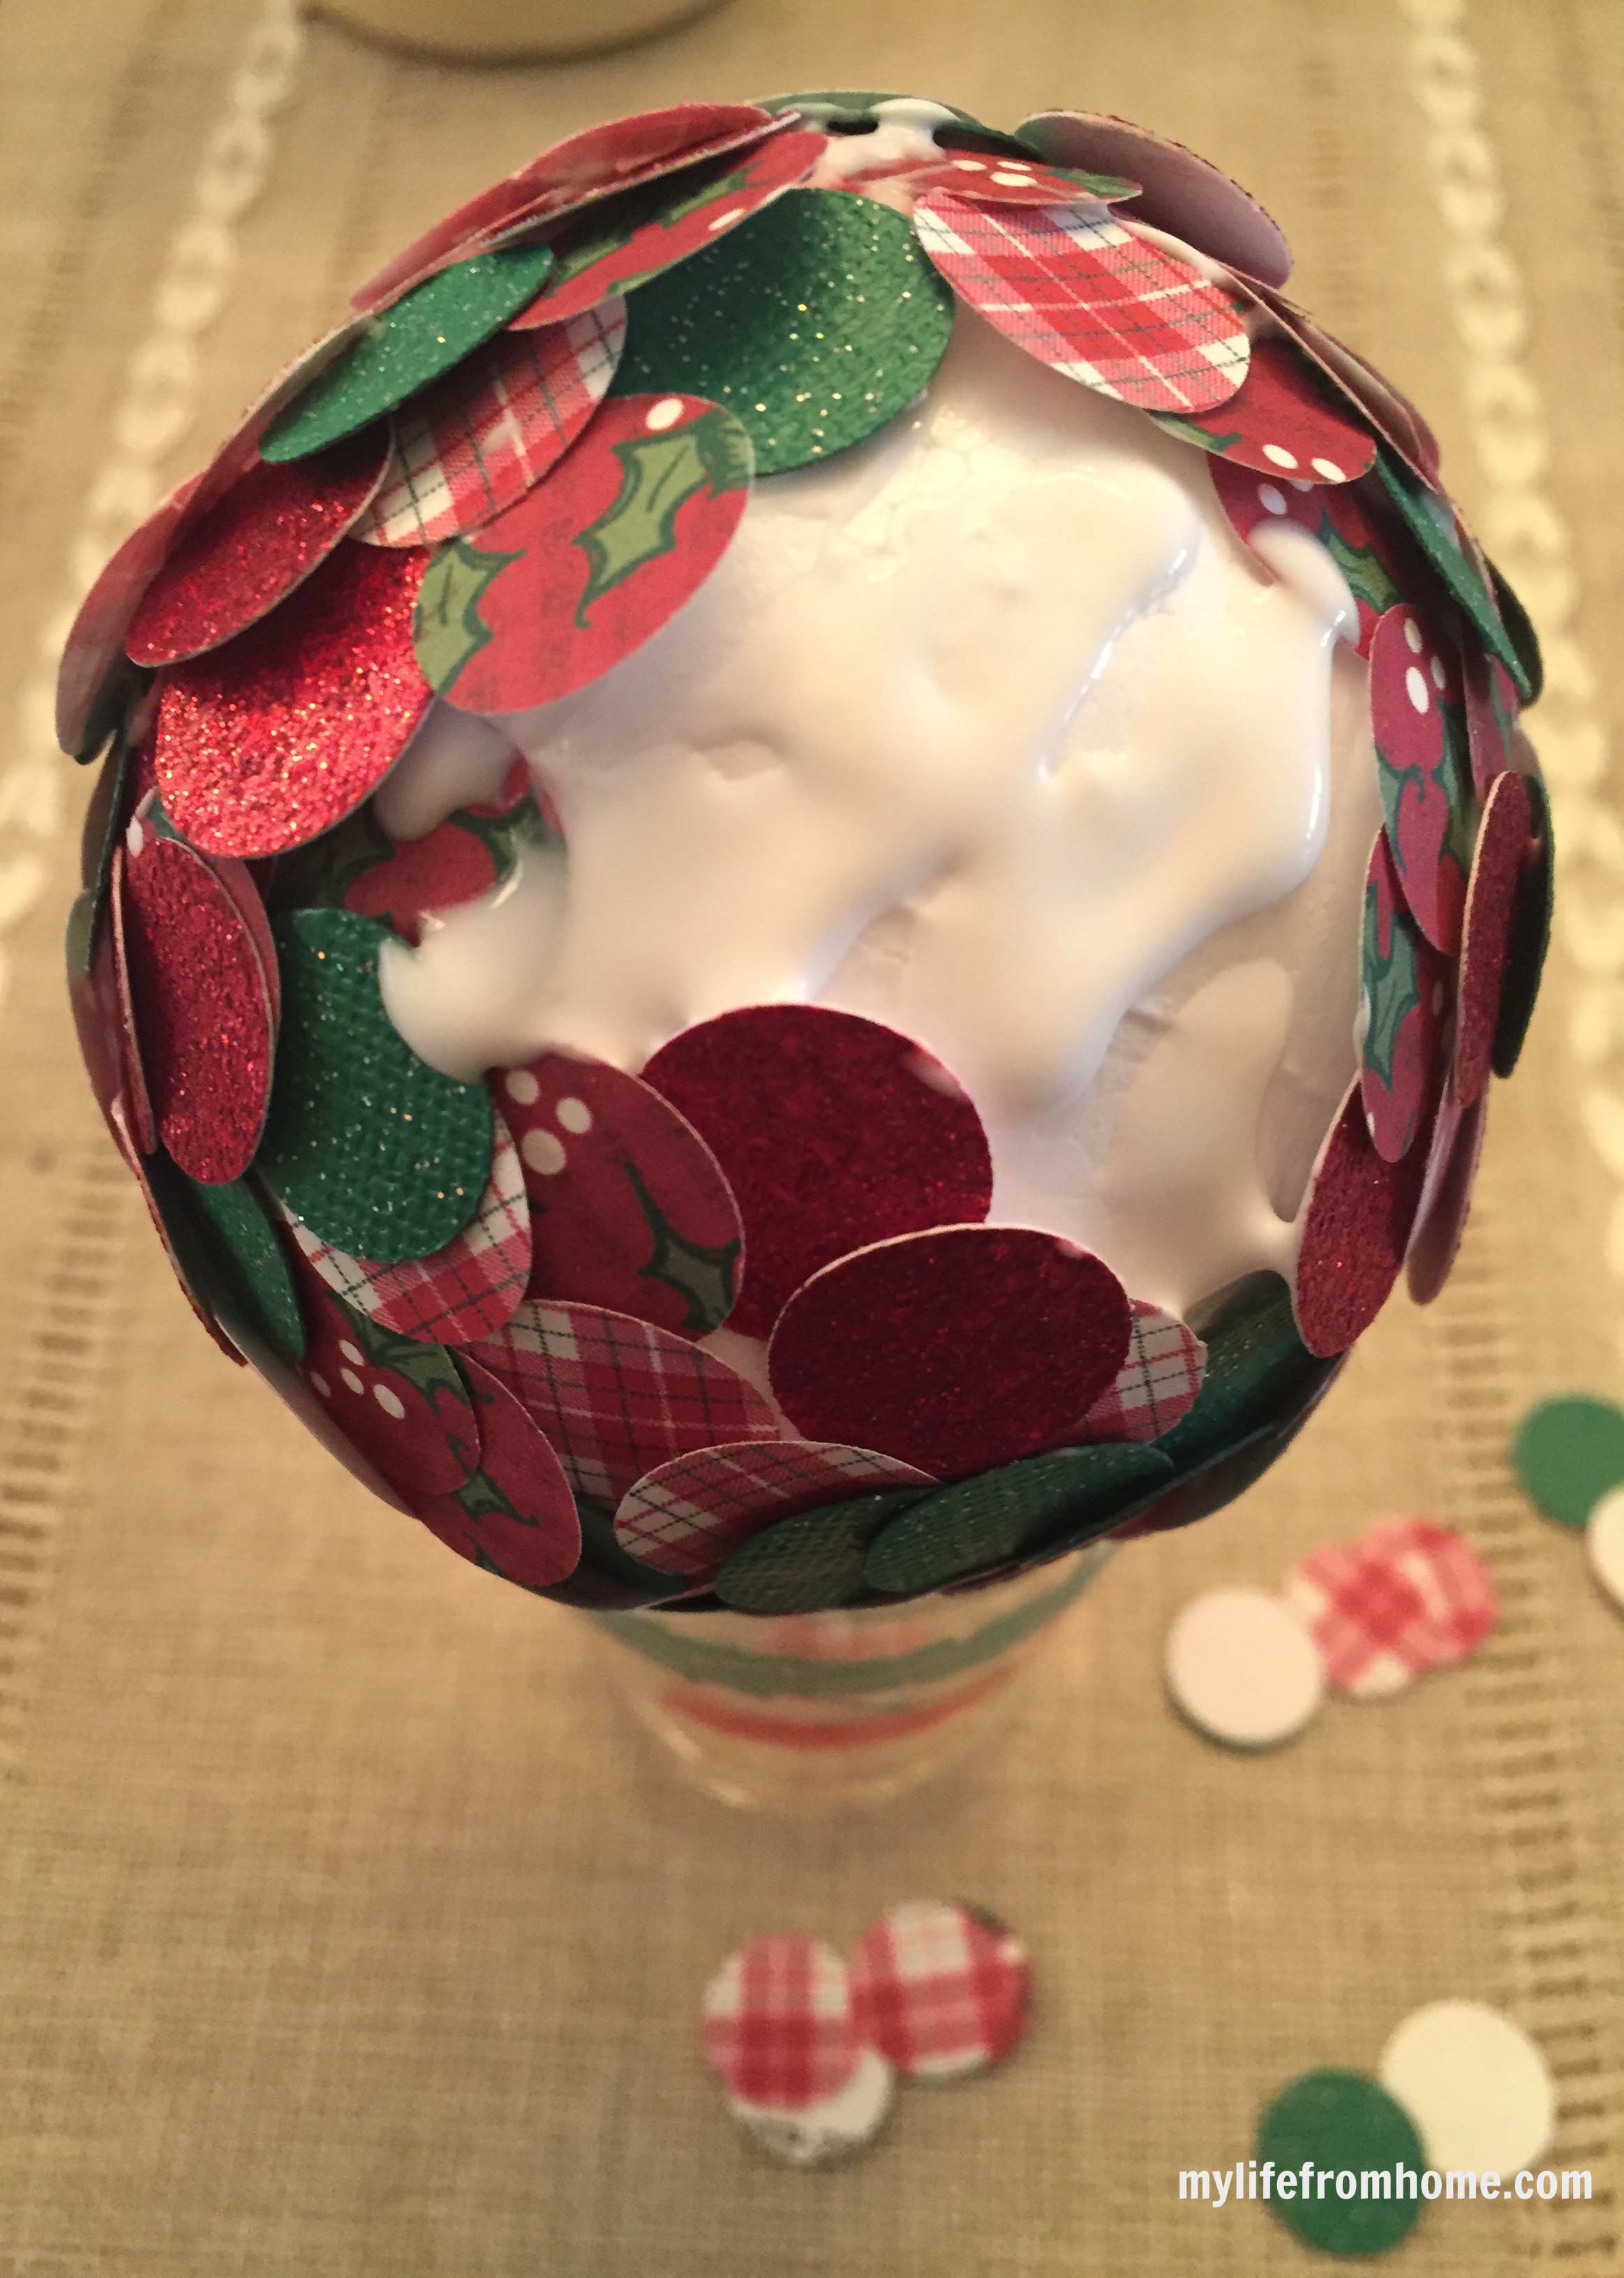
I did one-half of the ball, then I placed it in a cup to dry. This was just so it wouldn't start rolling all over my table. Then I began the other half with the goal of meeting in the middle. There is a natural line in the middle of the styrofoam which helped me know where the middle of the ball was located.

I used lots of glue and did not press the circles all the way flat instead left them up so it was easier to layer underneath each one.
After finishing the gluing. Let dry and cut the ribbon, to hang the ornament. I attached the ribbon with a straight pin, then glued one last circle over the pin to conceal it.
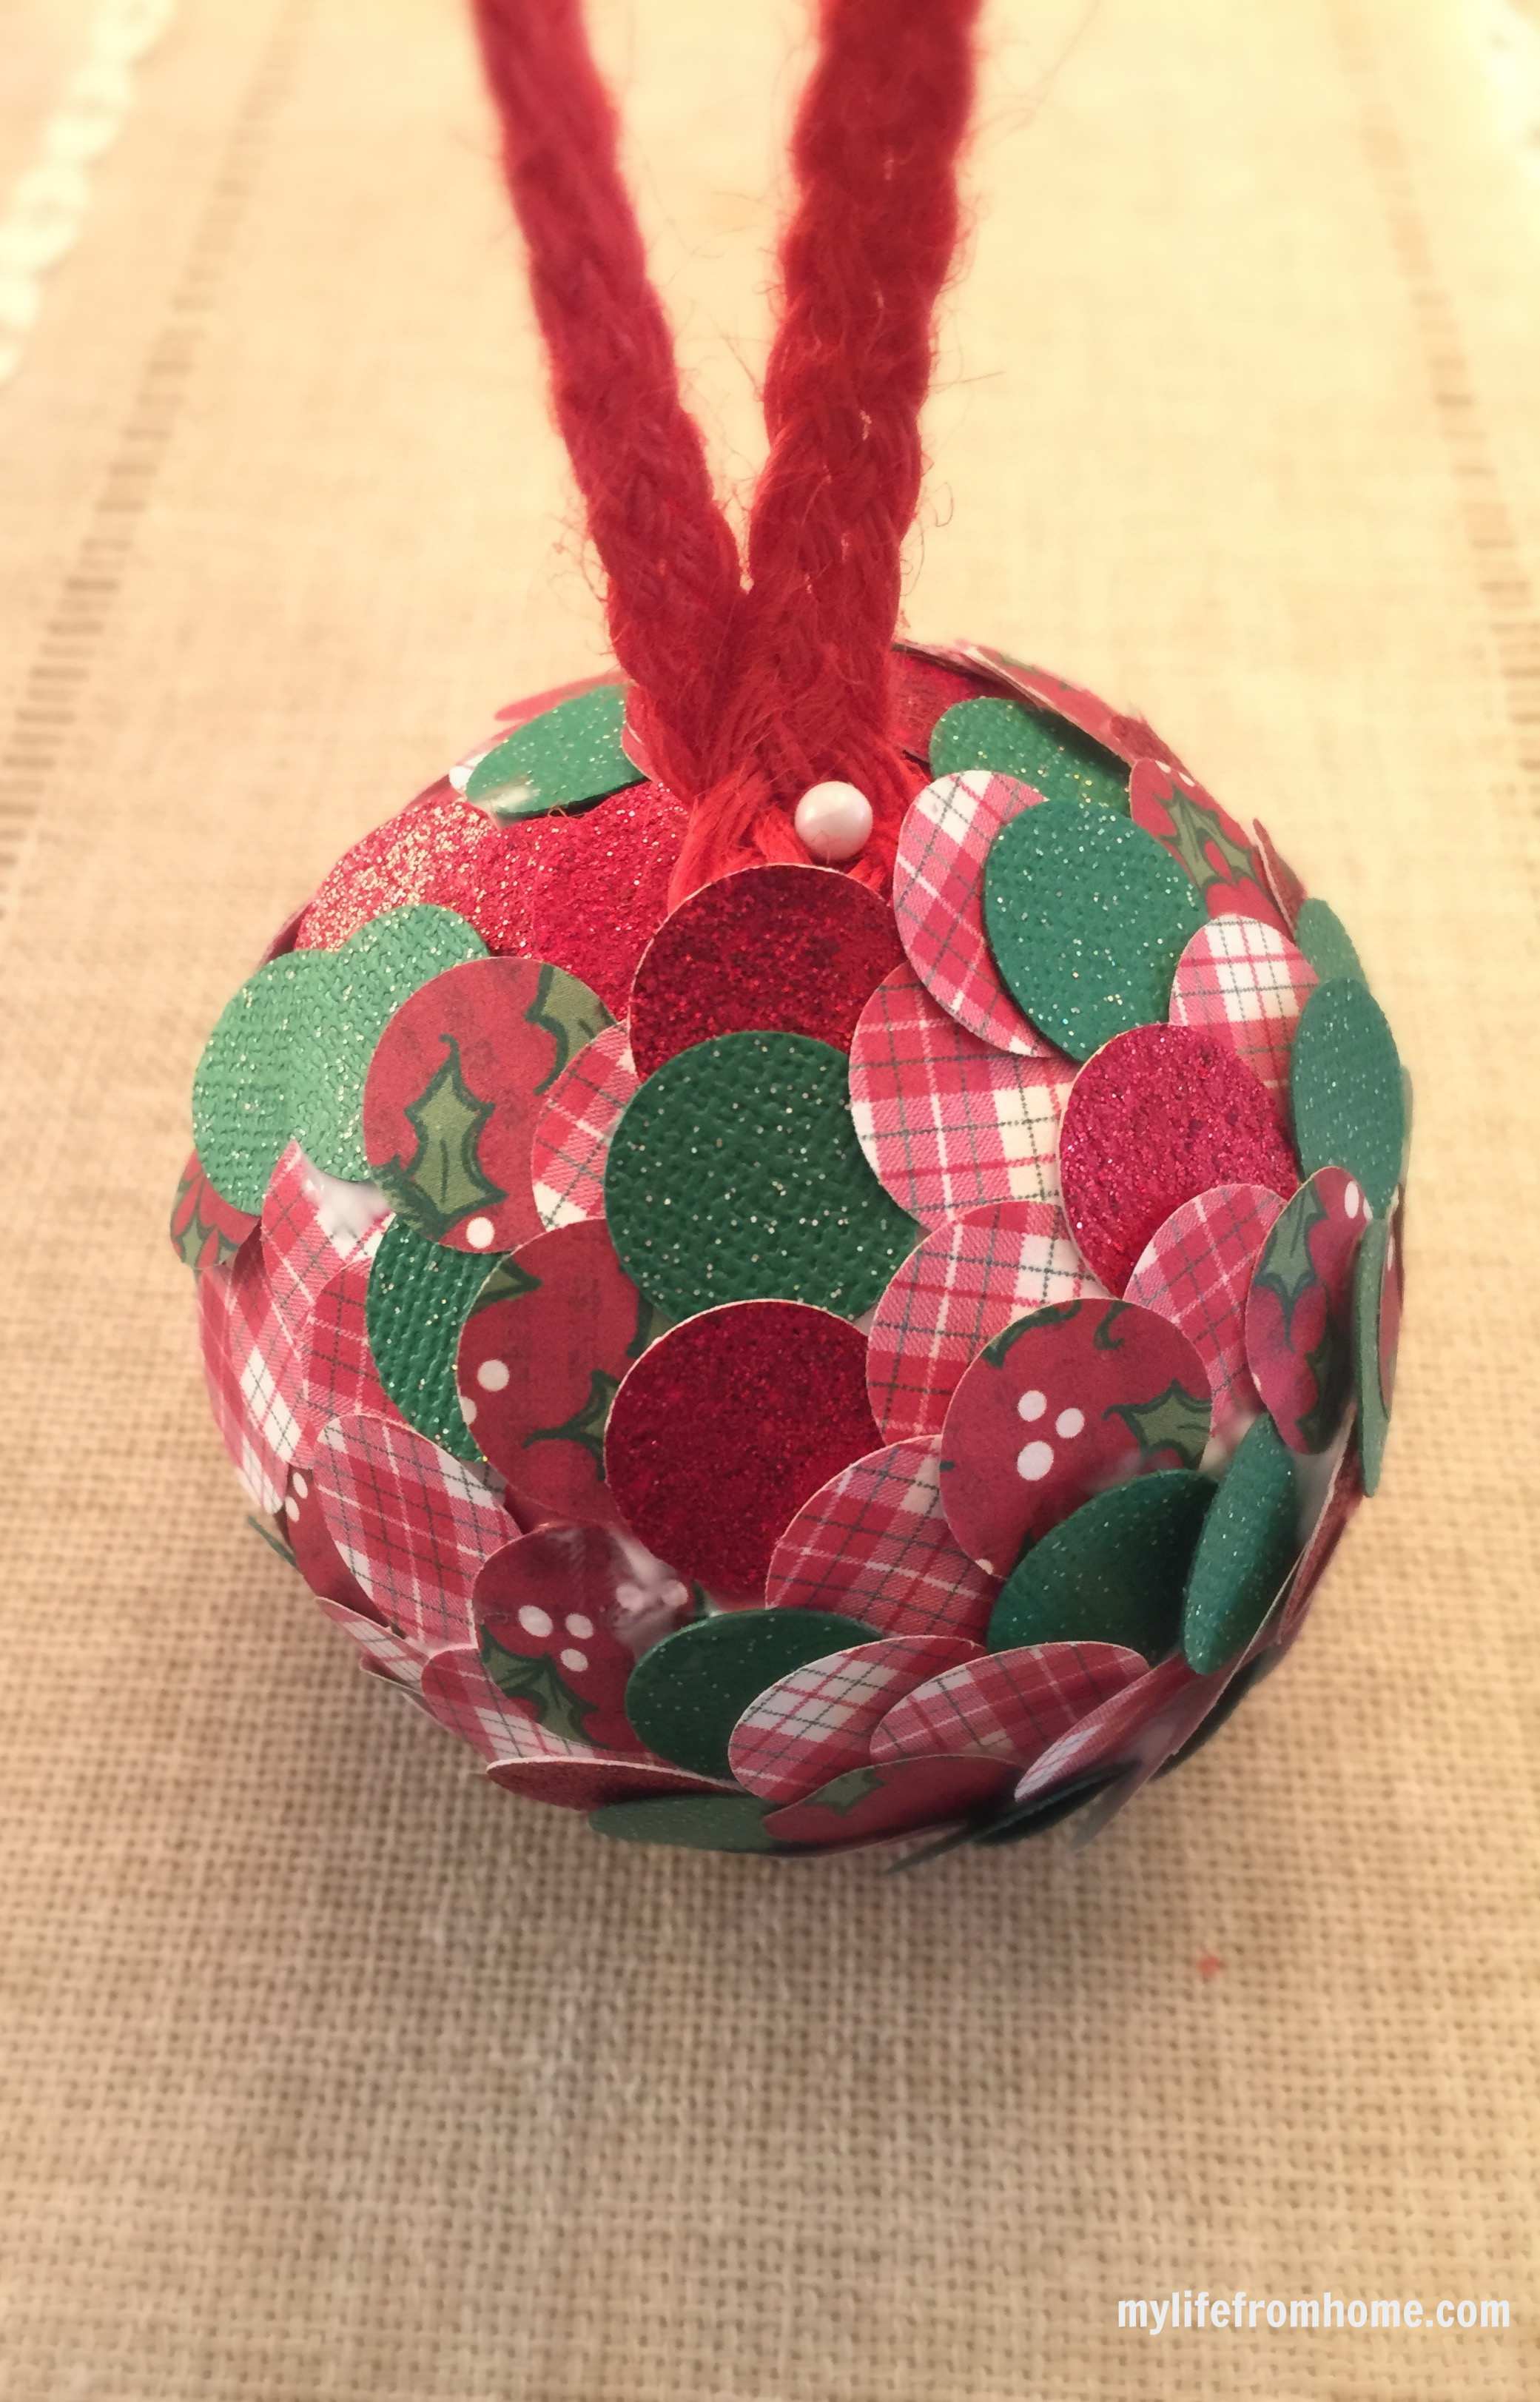
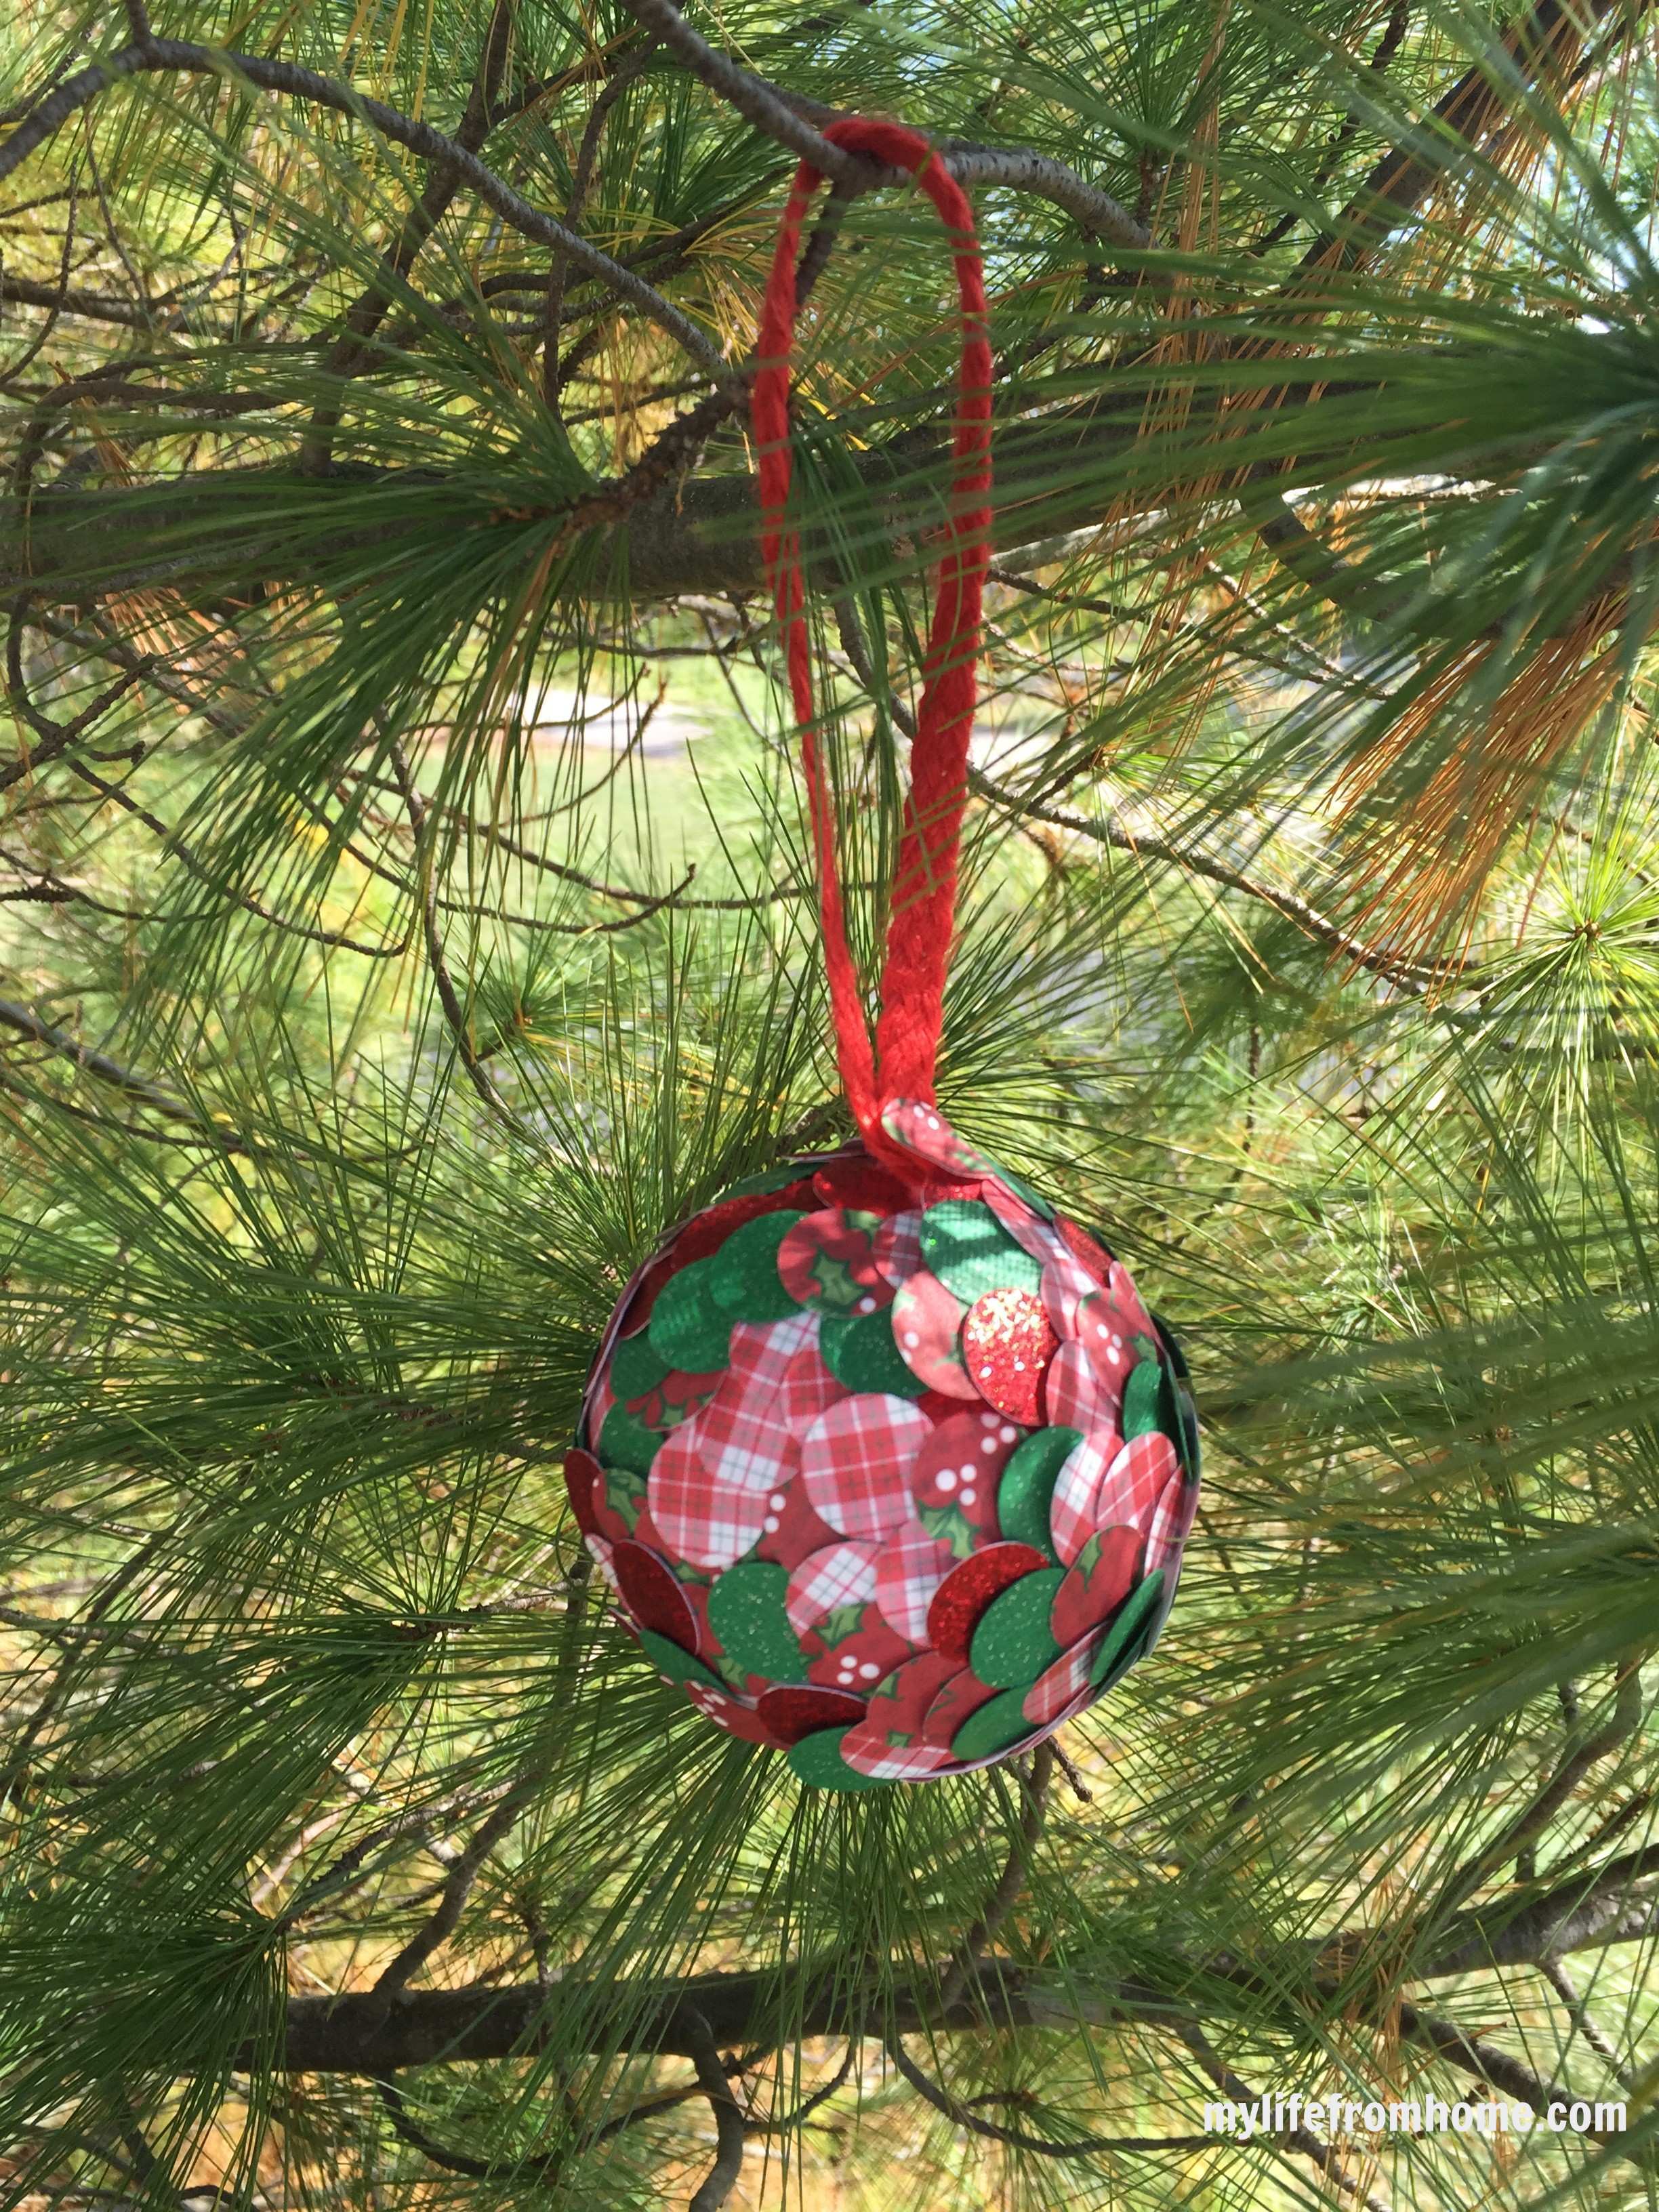
The finished ornament.
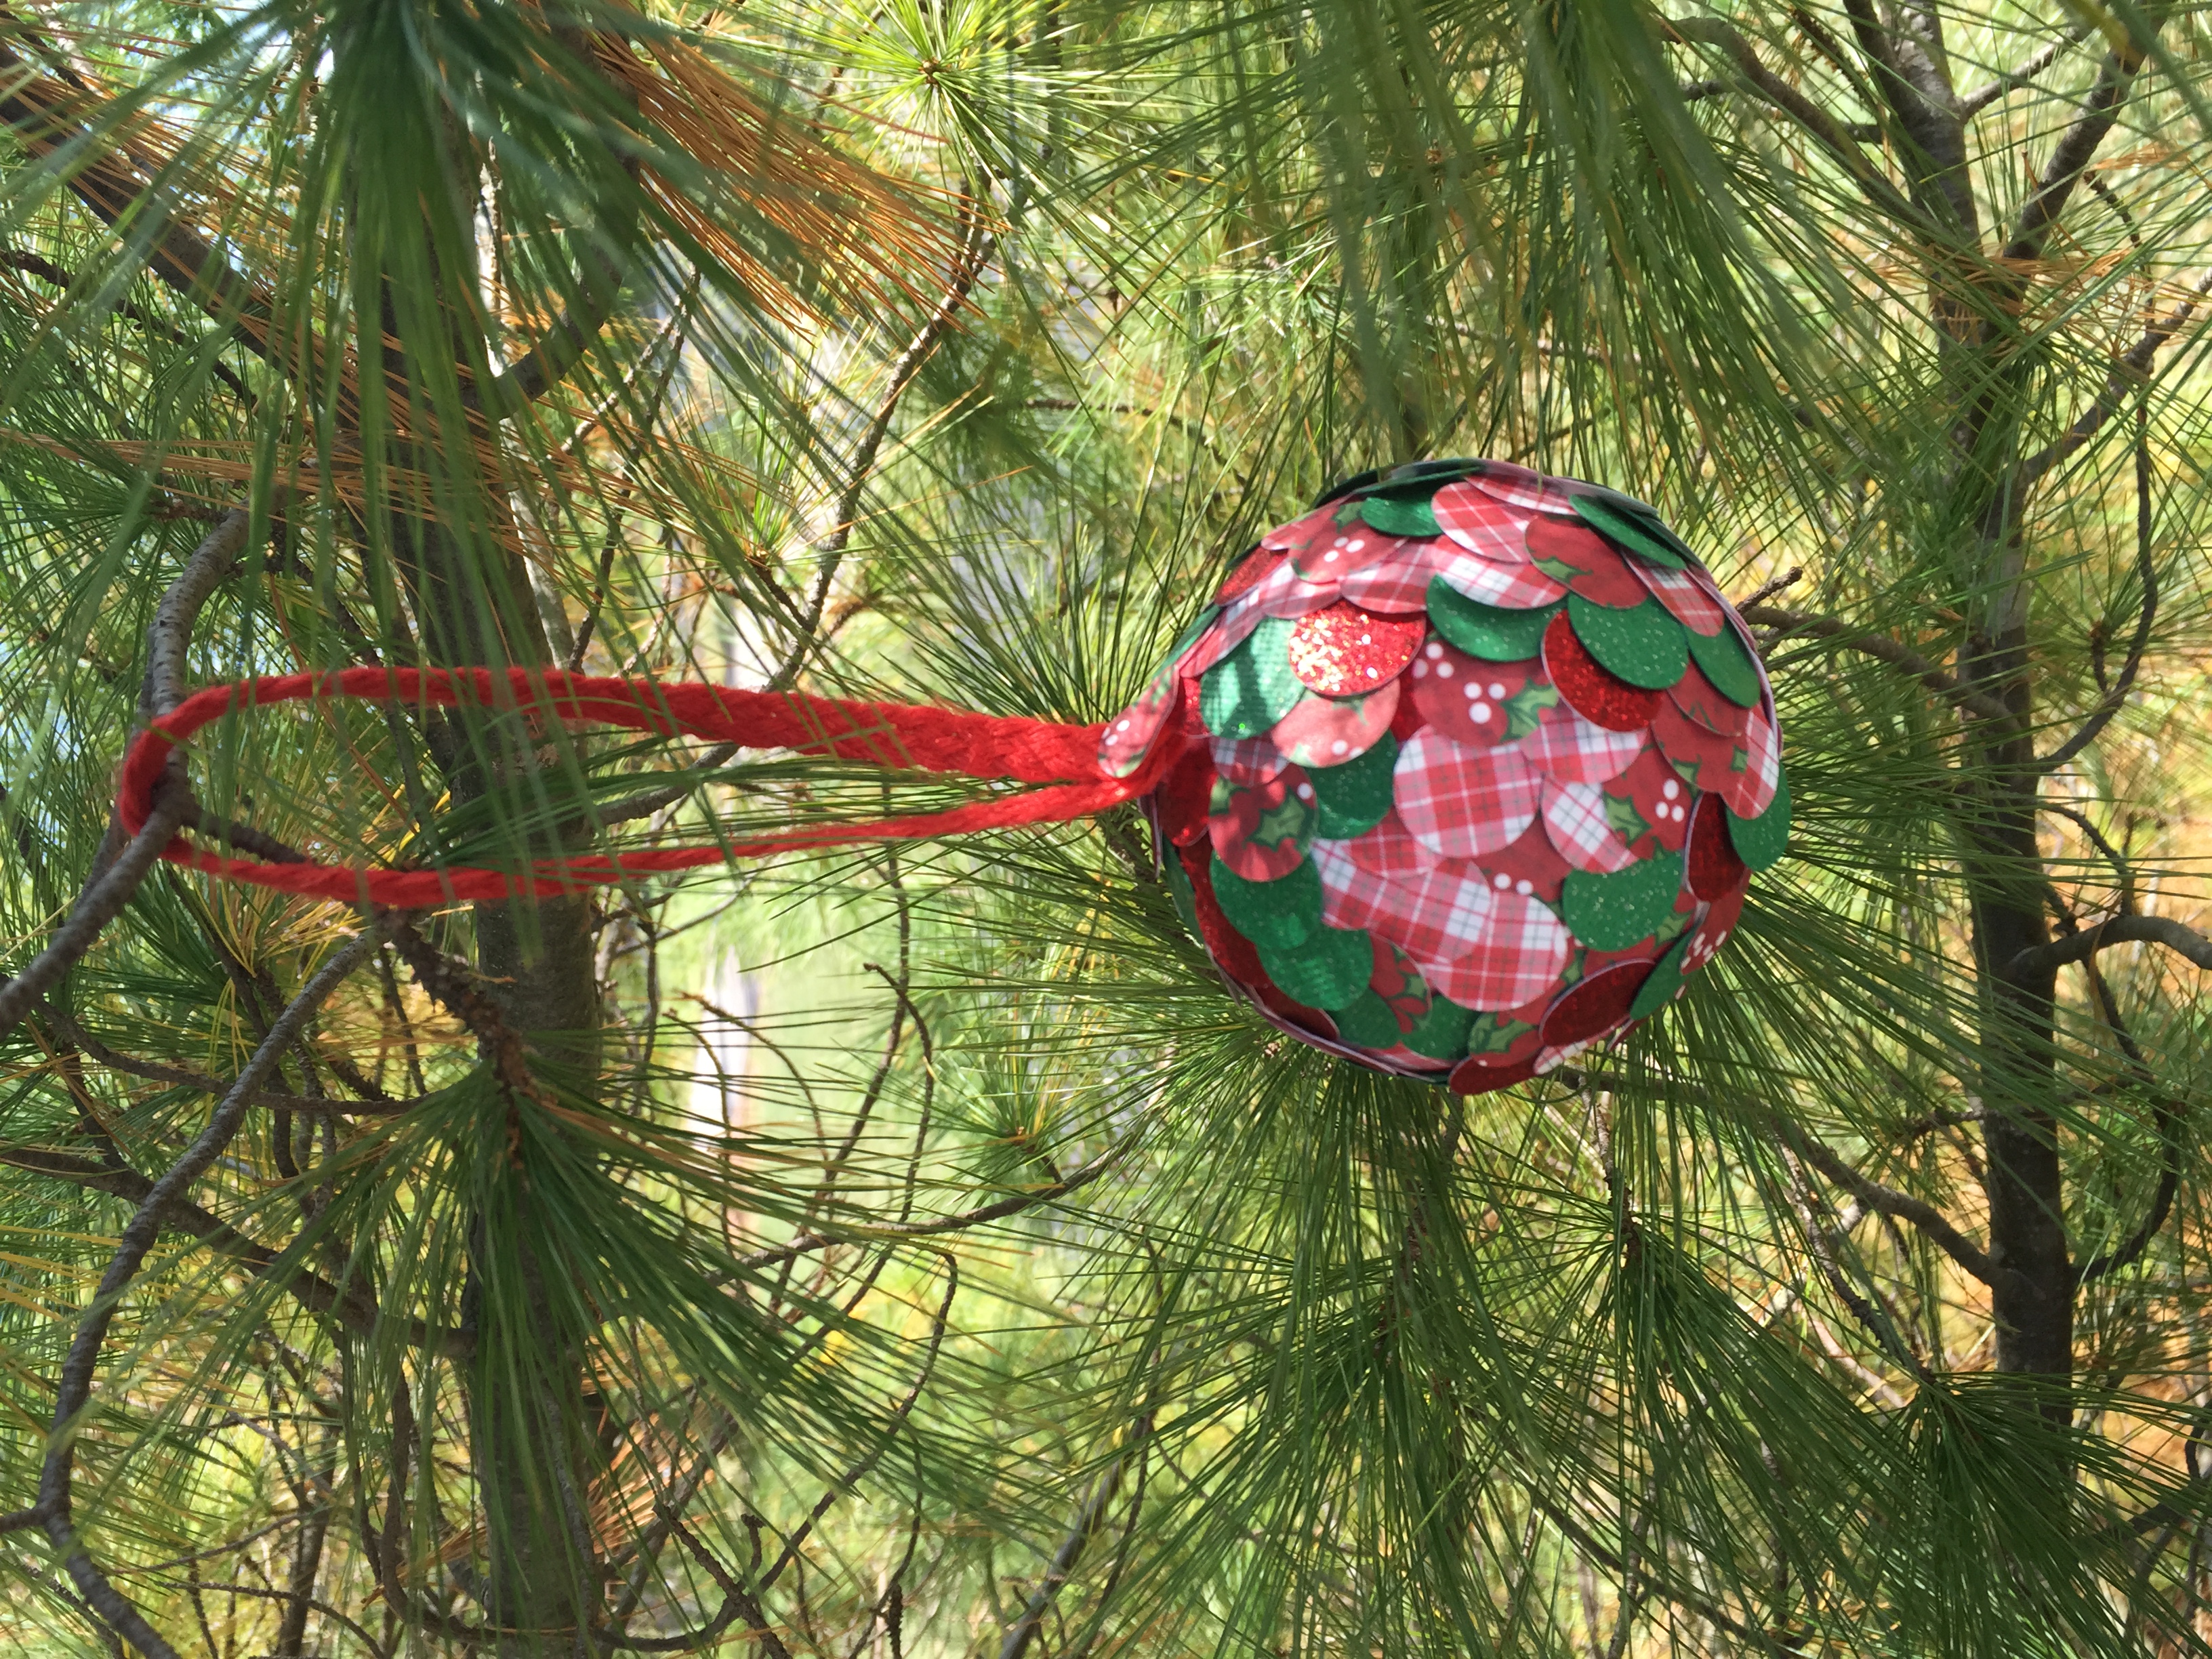
I love how it turned out!
Are you looking for other handmade ornaments this season? Well, you are in luck because you can hop on over to the next 4 ladies for some unique ornament ideas to freshen up your tree this year!
Enjoy!

[mc4wp_form id=”7778″]
Shared at these LINK PARTIES
To life feeling like home!
XO,


[…] Paper Punch Ornament | My Life From Home […]
What a cute holiday ornament. Thanks for sharing at the Inspiration Spotlight party. Shared
Thank you, Theresa!
Love the idea of an ornament exchange! and this little project will keep my kids busy for a while – thank you for the inspiration 🙂
Thank you, Linda! It’s an easy DIY.
You had me at easy!! I love doing crafts with my 3 yo grand, and she adores it too!! I can’t wait to try this one with her!
2usesTuesday
Oh great! I’m so glad you like it. It would be the perfect project with you granddaughter!
Very cute! I have tons of patterned paper and think I’ll have to try this with my boys this Dec. Pinned.
It’s definitely easy enough for kids to help out!
This is such a great idea! I have so many leftover materials from previous crafts that would work so well for the DIY ornaments. Thanks for sharing! Stopping by from the Create and Crave party.
Yes. This craft is perfect for that, Christine!
[…] My Life from Home made these super simple paper punch ornaments and I just love them in the traditional colors. […]
Just stopped by to see your ornament. I thought that this was an antique one at first glance. Good job its very pretty.-Mama’s Journey
Thanks for organizing Erlene!! So much fun!:)
Your ornament looks beautiful! I love all of the different papers you used, and the way you layered them together! So festive 🙂
Great way to use scrapbook paper and make the design fit into any decor! Your ornament turned out great!
Thank you Amanda! I can’t wait to get around and see everyone else’s. Thanks for stopping by! 🙂
What a great way to use up the bits and pieces of scrapbooking paper that we all have in our stash!
Thank you Ellen! Yes. I am all about super easy projects. Thanks for stopping by! 🙂
Just popping by as I too am participating in the ornament exchange. What a delightful ornament. You are truly clever and crafty.
[…] from My Life From Home shows us how to create this festive ornament from paper and a styrofoam ball. Super easy to make […]
So cute! I love the paper you chose too. Great to find such need blogs when we do this exchange too.
Joy @ Books and Life
Thanks Joy! I can’t wait to go through everyone’s posts! So much fun.