Oh How I Love Thee Pinterest

I'll never forget the day my friend Cally called me and said, “You better get your name on the wait list for this new site called Pinterest. You will love it!” So like an obedient little friend, I did. I waited and waited until that happy little email arrived saying that I had been accepted. “Yeah. I'm now one of the chosen ones,” I thought. Funny to think back on that now, but oh how I love thee Pinterest. What a genius idea. I'm sure you are a millionaire by now Mr. Pinterest. Now that I know you, I could never go without you!
Need a recipe, Pinterest. Need an idea for a party or a decoration, Pinterest. Need an outfit, Pinterest. Everything all in one spot. Want to get married, make a board. Want to read a book, pin it.
 If you are one of the few who aren't using Pinterest, then you just need to get on board. It's like heaven for us creative types.
I've been rocking Pinterest now for almost 6-7 years, I think? Cally, do you remember? Well anyway, enough gushing! I want to share some of the new tricks I've learned along the way.
#1 Pinterest is only good if you use it
You can have the most beautiful boards, but it you don't actually open them up and use the ideas from the pins, then they are worthless.
No brainer, but have to mention.
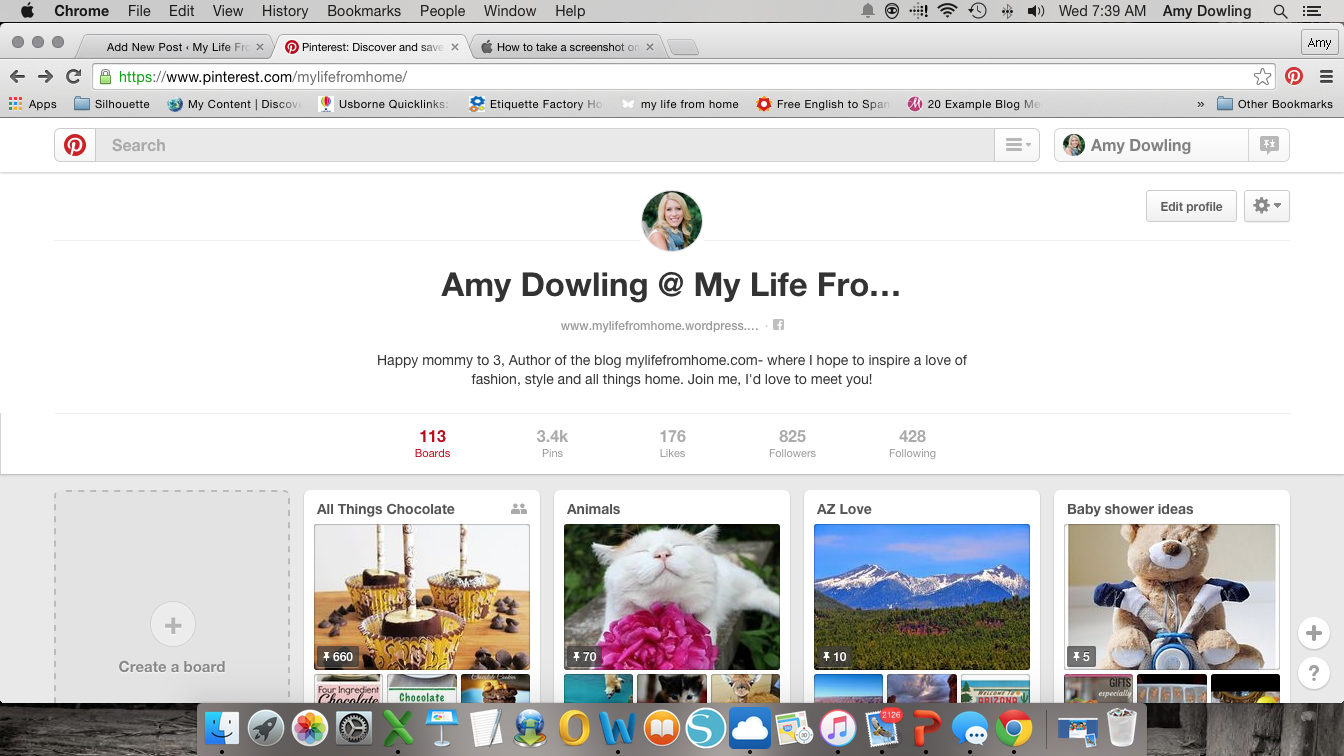
#2 Organize your boards so you can find what you need
I have mine in alphabetical order and also by themes. All my home boards are titled like this: Home: Basements, Home: Bathrooms, Home: Decor etc. That way all the boards about home are in the same area.
I have a lot of boards and separate things so that I am not scrolling through hundreds of pins to find one I want. Another example is with Fashion. I have boards titled like this; Fashion: Accessories, Fashion: Shoes etc. Remember there is no limit on the number of boards you have.
To put your boards in order, you can click on it, hold it and drag it where you want it.
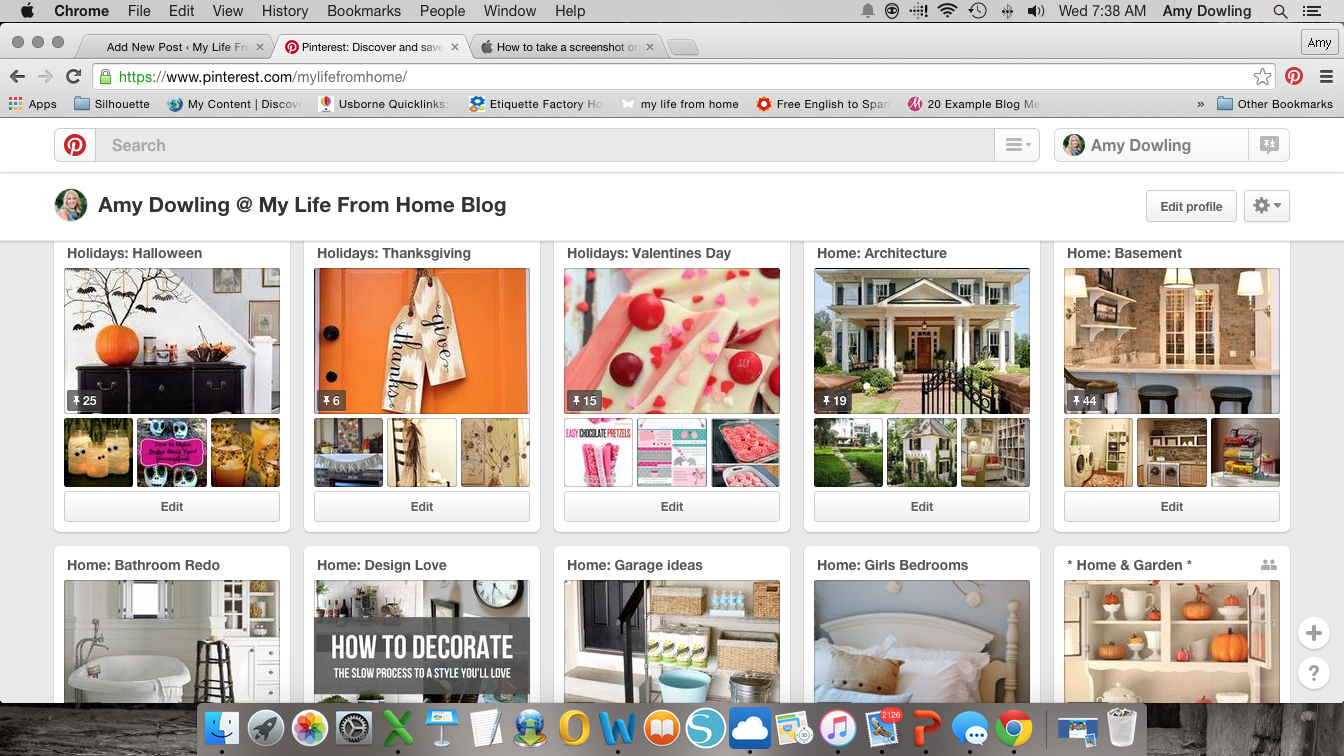
#3 Change your cover photos
I recently went through and changed all my cover photos to better represent what the board is about. Plus it looks better when someone opens up your page.
To do this, click on the board you want to work with, click on cover (change) and then click the arrow button until you find the picture you want to make your cover photo. You can then move it to crop it into position and hit save changes.
#4 Edit your boards
You need to do a virtual clean up once in a while and get rid of the pins that you don't want any longer or projects you already did. Excess pins just clutter up your boards.
#5 Categories
I recently learned the importance of categories. When you create a new board, it will ask you what category you want it in. I never really bothered with this before, but then learned that the search engine uses this to locate pins. If you are interested in having your pins repinned by someone else, then you definitely want to make sure the boards are in appropriate categories. You can go in and do this after the board is created by clicking the edit board button and from the drop down menu choose the one that best suits your board.
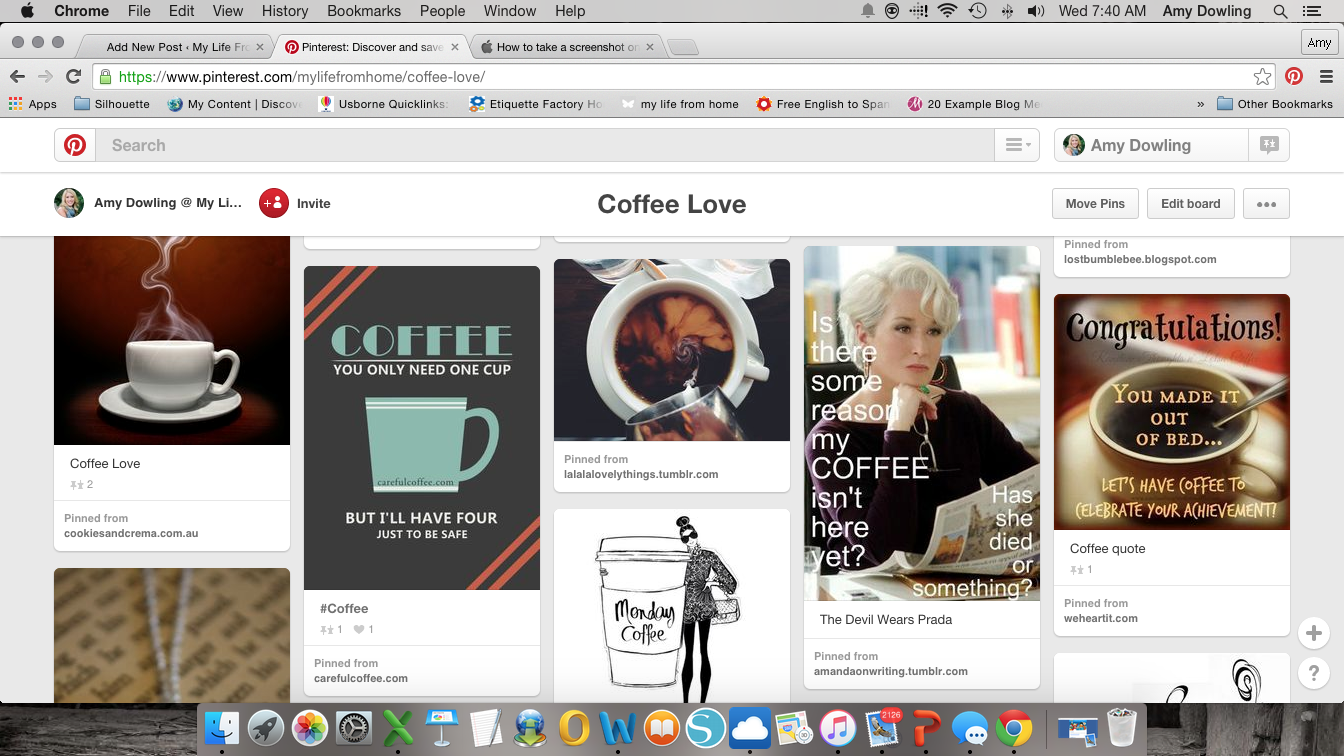
#6 Create your own pins
I recently learned how to make my own pins. Not just an image pinned from the web, but my very own pin. I was super excited and began making pins like crazy. This is good for the blog because an eye-catching pin will direct people back to your blog. Here is an example of a pin I recently created.

You may remember this post recently. I created this pin shortly after posting and it has now been repinned a dozen or more times. Much more aesthetically pleasing then if I had just pinned this image.
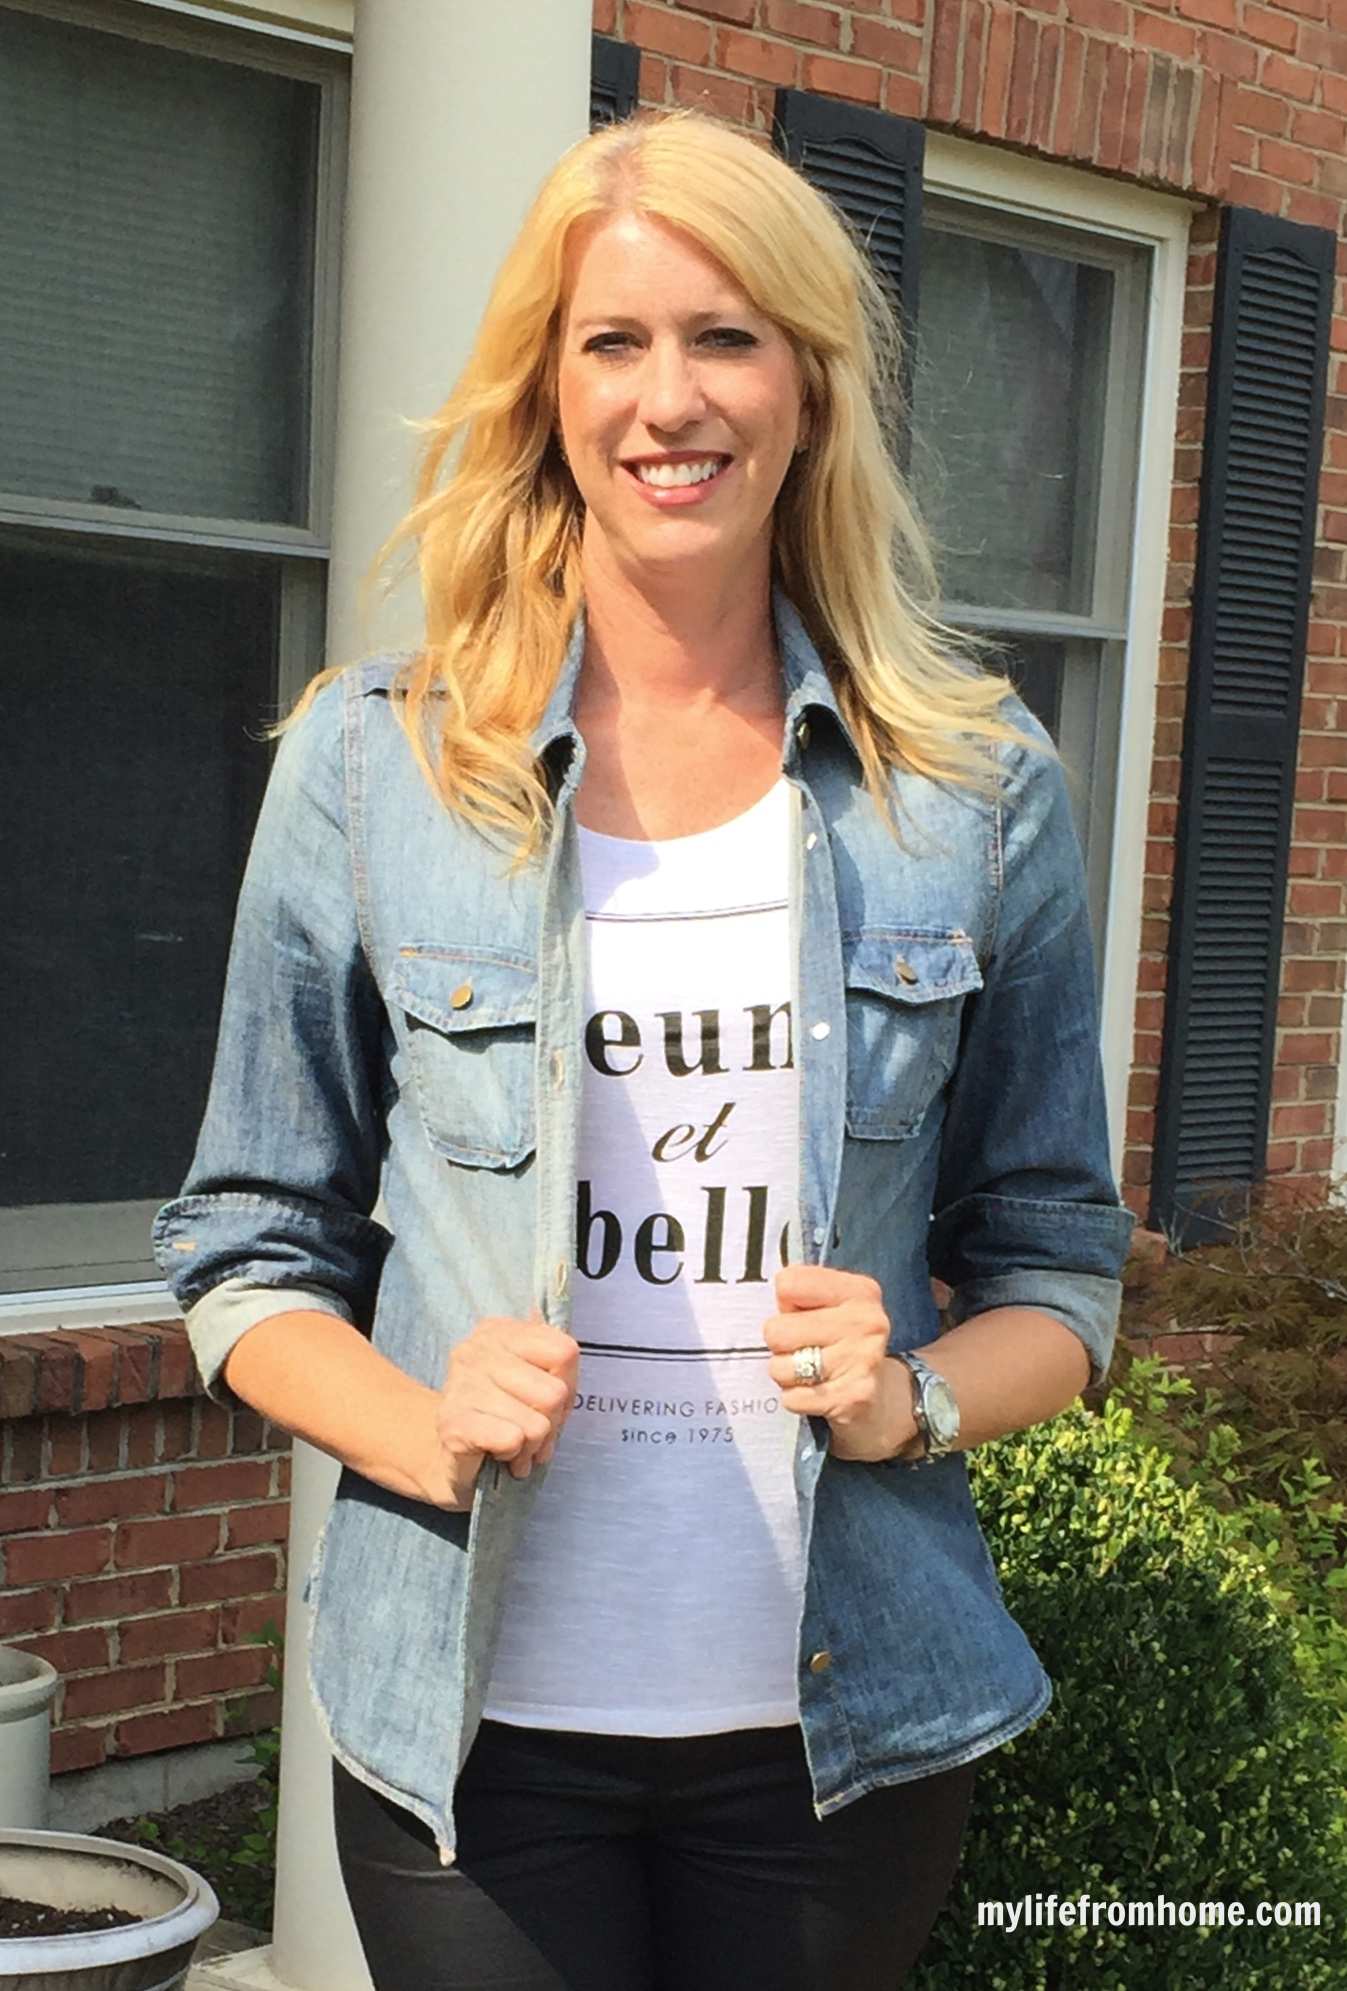 Which one would you rather repin?
Another example
 vs. this
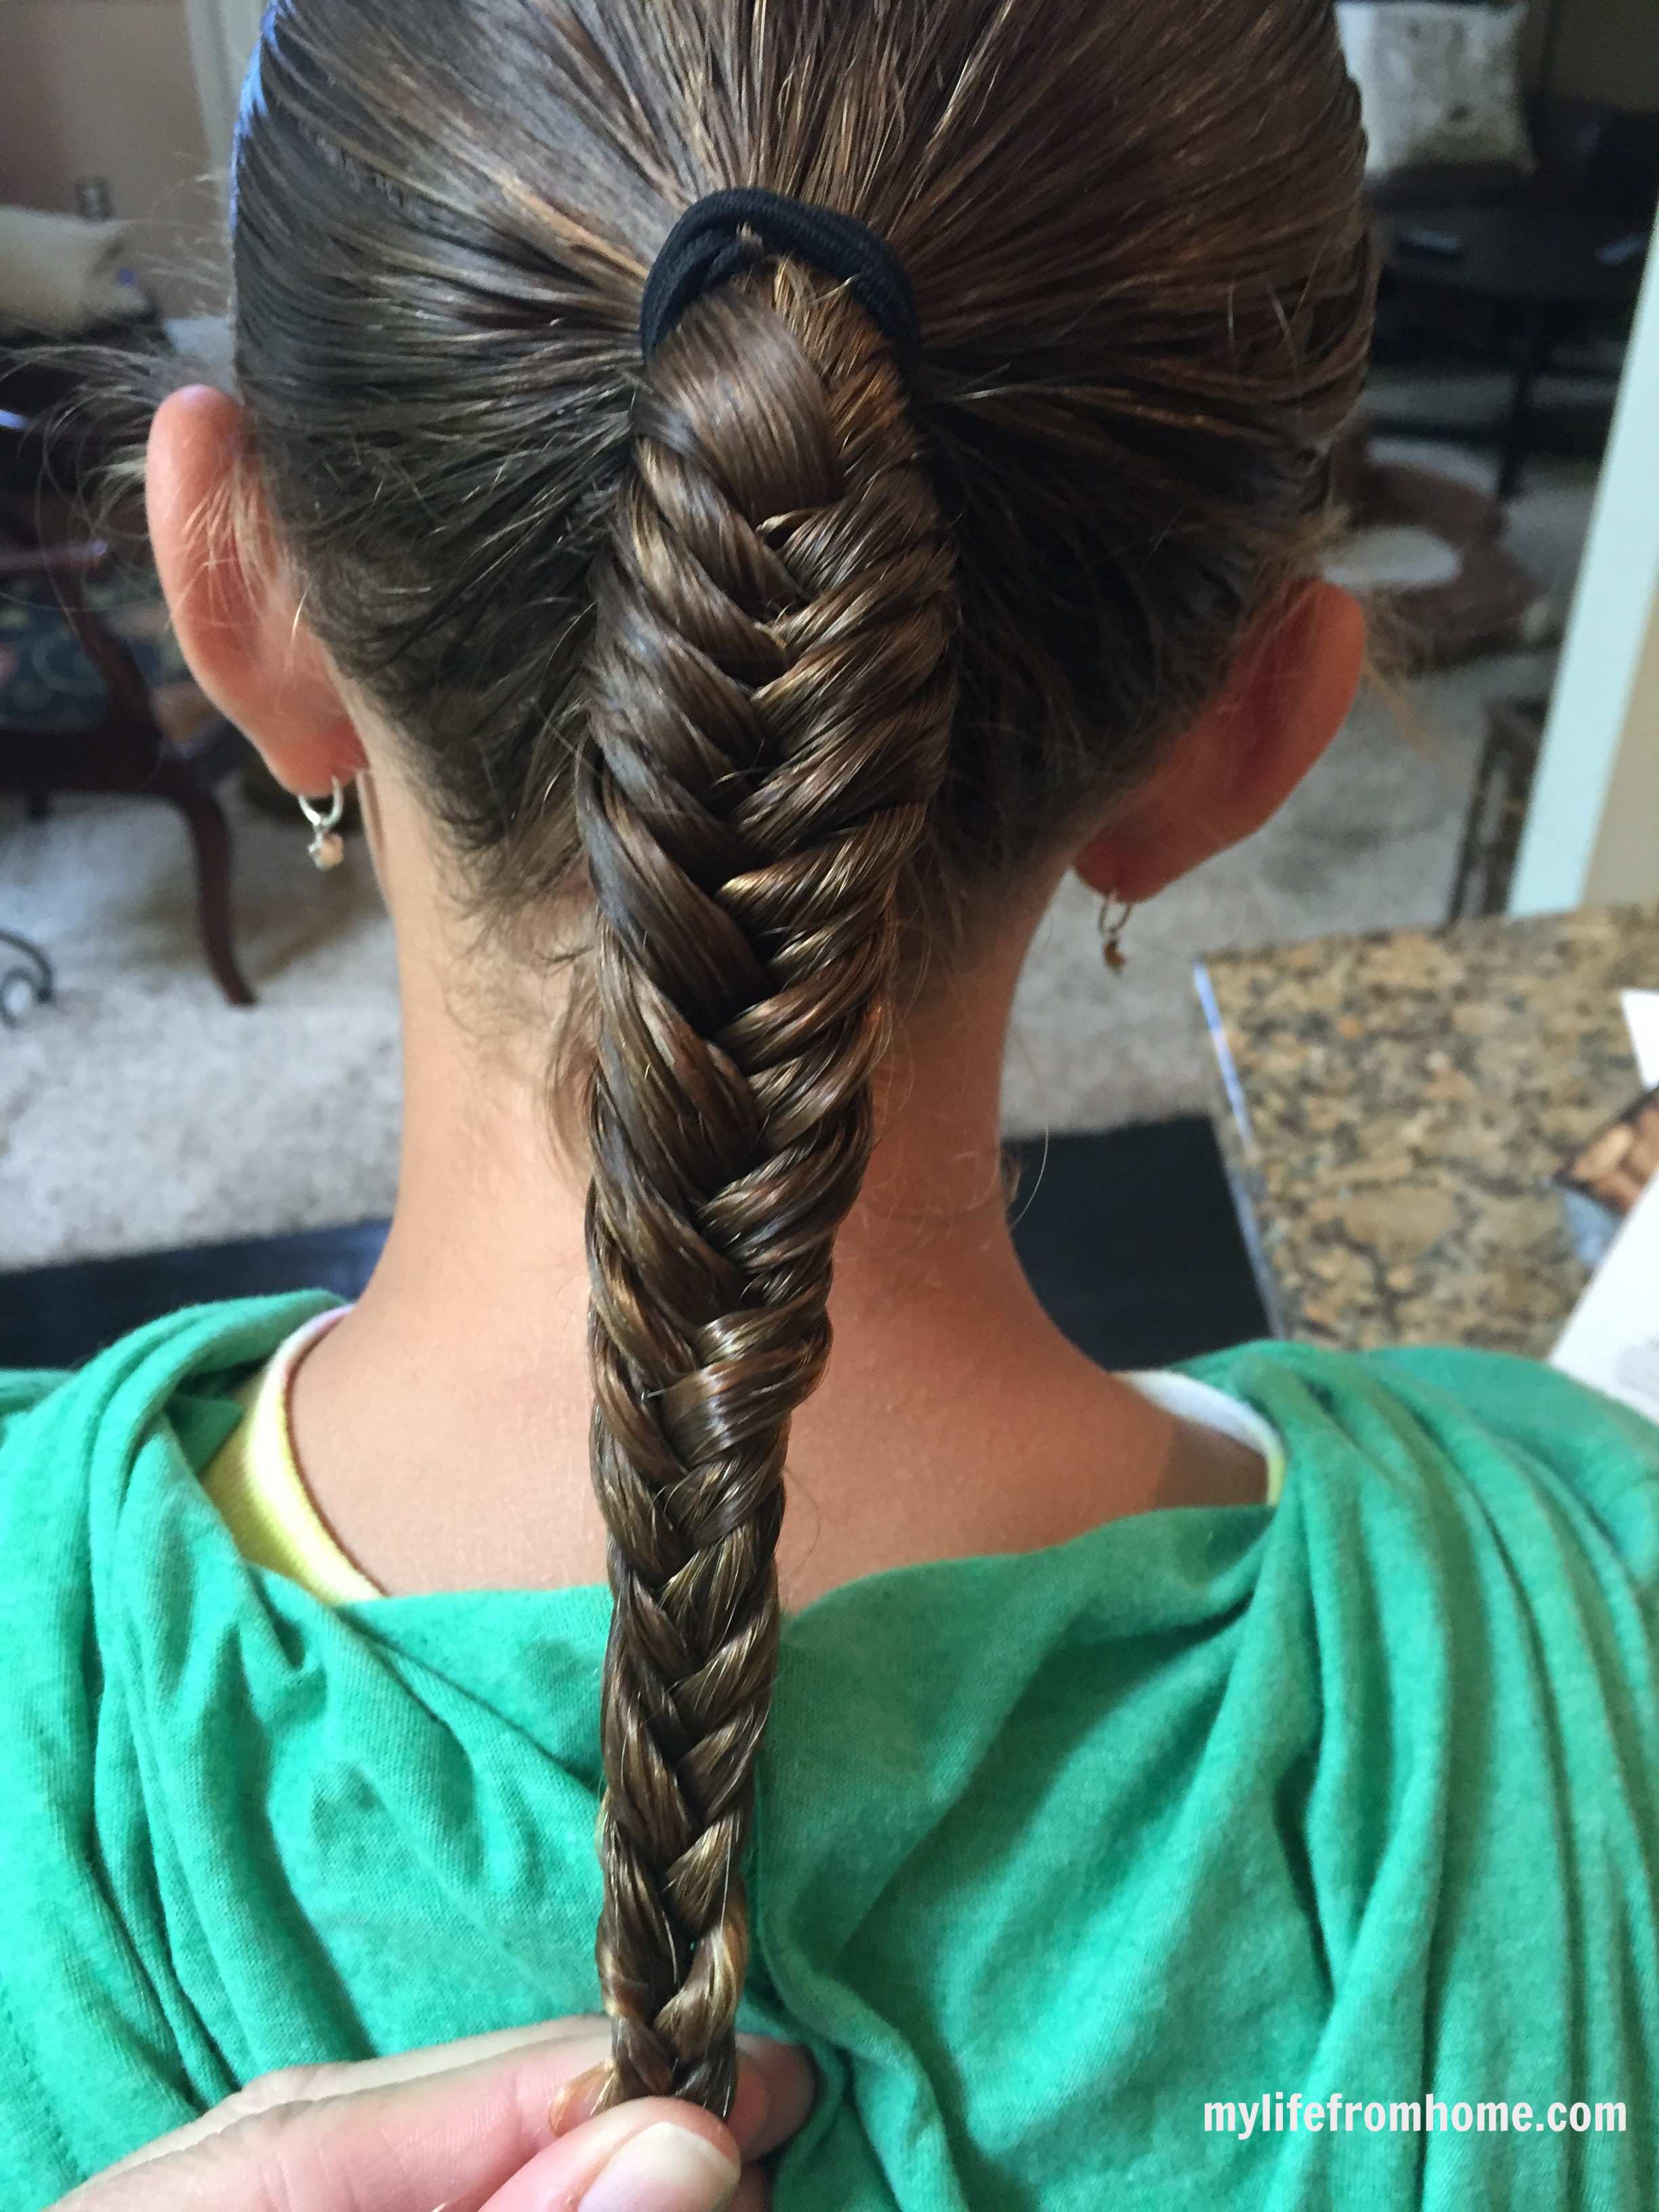
I was so excited to learn how to make pins and found it super easy once I knew. The above pins were created on PicMonkey. Using the collage feature, you can click out of boxes you don't want and edit the measurements on the bottom and lock them into position. I used 600 by 1800 for the above pins. Upload your photos and then you can drag them into the boxes. You can then create new boxes by dragging your photo and then hovering right above an image until a blue line appears. After your images are in place, you can switch to editor mode by clicking above on edit. It will ask you if you want to switch and you can click yes. It will then switch you over to edit where you can add borders, color the boxes and add text. Get creative. Once finished, click the button which looks like a stack of papers with a down arrow and it will lock everything into place. Save your masterpiece to your computer and you are then ready to pin it.
To pin it to a board, open up Pinterest and click on the plus button on the bottom right of your screen. Upload your pin and pin it to a board. To attach a website to it, edit your pin and add your link.
Hopefully this makes sense. If you have questions, please feel free to ask!
#7 Don't forget to search, comment & send
Don't forget, you can send pins to friends and comment on ones you like. Also, search for specific projects or people to follow.
Lots and Lots to do on Pinterest. If you aren't following me yet, you can follow me HERE. I would love to follow you back.
Enjoy and Pin Pin Away!